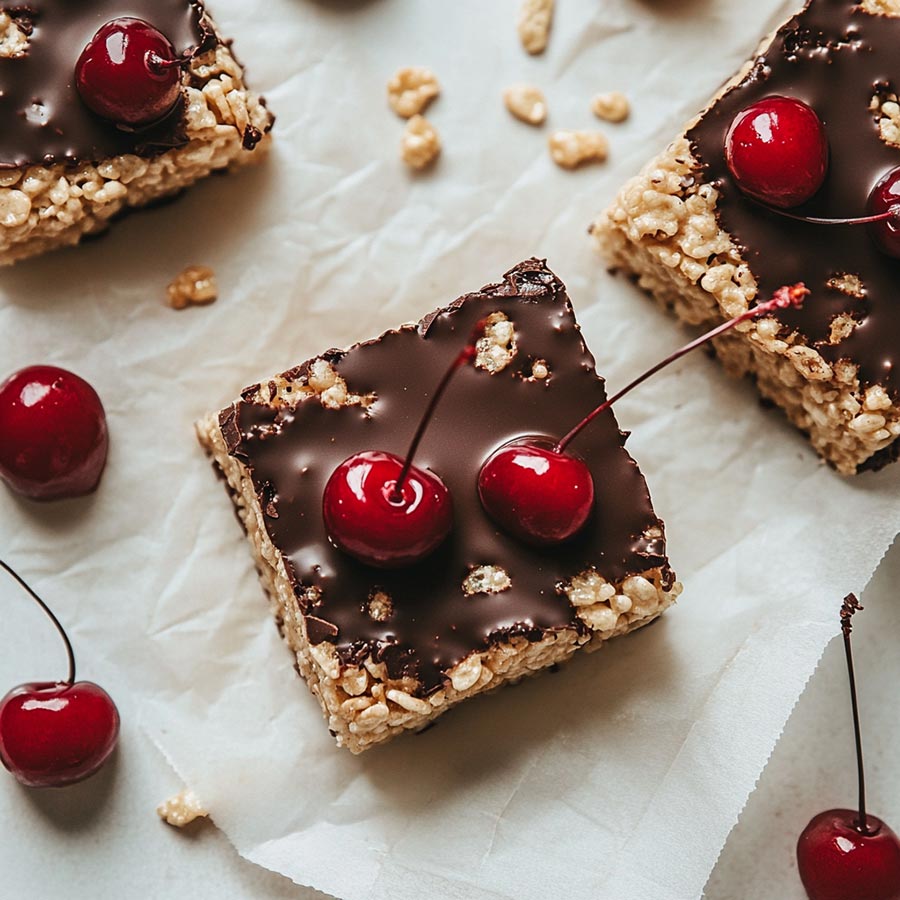
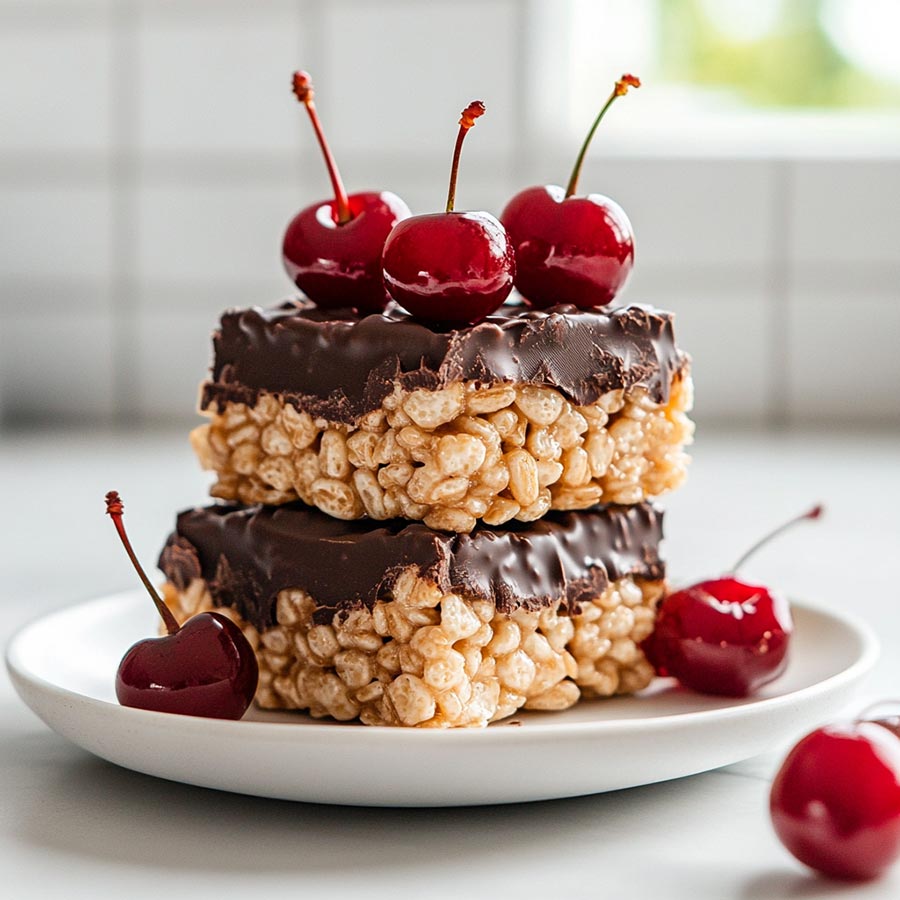
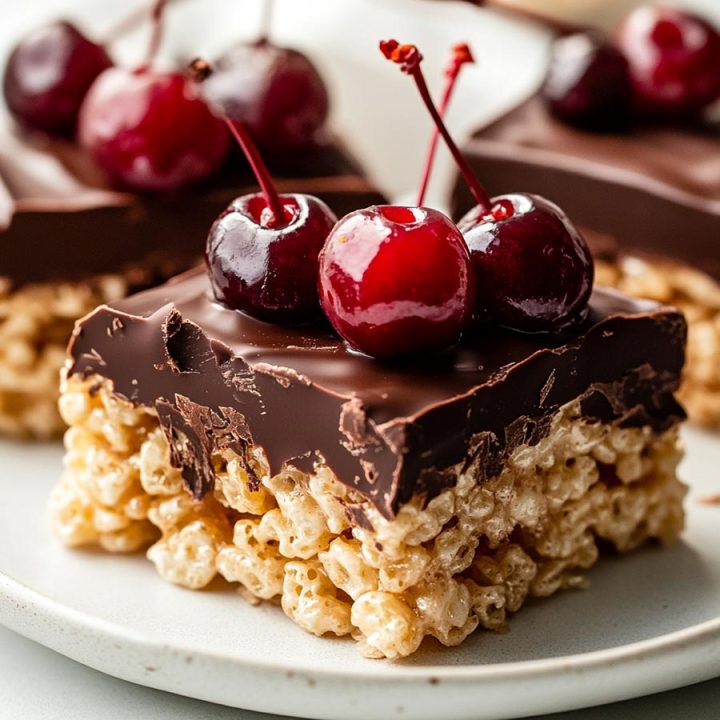
Chocolate Covered Cherry Rice Krispie Treats

There’s something so magical about taking a classic treat and giving it a fun, festive twist. These Chocolate Covered Cherry Rice Krispie Treats have quickly become a favorite in our house, and for good reason. I first made them on a whim after spotting some beautiful fresh cherries at the market and realizing we hadn’t had Rice Krispie treats in ages. I wanted something nostalgic but with a little extra flair, and these did not disappoint!
From the first bite, my kids were hooked. The slight tartness of the cherries perfectly complements the gooey marshmallow, and the rich chocolate coating takes it completely over the top. It’s the kind of treat that feels indulgent but is secretly so simple to make, perfect for busy weekdays or last-minute celebrations.
What I love most is how these treats bring everyone together. Whether it’s after school, during a family movie night, or just because, they always seem to disappear faster than I can make them.
Plus, there’s something really special about the way the bright cherry flavor and the glossy chocolate come together, it just feels a little more “wow” than your average Rice Krispie bar. I can confidently say these are a must-try; they’ve earned a permanent spot in our treat rotation. And judging by the smiles (and sticky fingers) around here, I think you’re going to fall in love with them too!
Questions I Often Get Asked About This Recipe
Can I use jarred or frozen cherries instead of fresh?
Yes! If fresh cherries aren’t available, jarred maraschino cherries (well-drained) or thawed frozen cherries work well. Just be sure to pat them dry to avoid excess moisture.
Do I have to use dark chocolate?
Not at all! Dark chocolate adds a nice contrast to the sweetness, but milk or white chocolate would also be delicious.
Can I make these treats ahead of time?
Absolutely. They keep well in an airtight container for up to 3 days at room temperature or up to 5 days in the fridge.
What if I don’t have cherry extract?
No worries! The fresh cherries bring a lot of flavor, but you can also use almond extract for a complementary twist.
Are these gluten-free?
Yes, as long as you use gluten-free Rice Krispie cereal and double-check your chocolate and marshmallows, this recipe can be completely gluten-free.
What You Need to Make Chocolate Covered Cherry Rice Krispie Treats
Ingredients:
6 cups Rice Krispie cereal
4 cups mini marshmallows
3 tablespoons butter
1/2 teaspoon cherry extract (optional but recommended)
1 cup chopped fresh cherries (pitted)
8 oz dark chocolate chips or chunks
1 tablespoon coconut oil (optional, for smoother chocolate)
Extra cherries for garnish (optional)
Special Tools:
9×13-inch baking dish
Parchment paper
Microwave-safe bowl or double boiler (for melting chocolate)
Spatula
How to Make Chocolate Covered Cherry Rice Krispie Treats

Prepare the Dish: Line a 9×13-inch baking dish with parchment paper and lightly grease it to prevent sticking.
Melt the Marshmallows: In a large saucepan over low heat, melt the butter. Add the marshmallows and stir constantly until completely melted and smooth.
Add Cherry Flavor: Stir in the cherry extract if using, then gently fold in the chopped cherries.
Mix the Cereal: Remove from heat and immediately add the Rice Krispie cereal. Stir until everything is evenly coated.
Press into Pan: Transfer the mixture into the prepared baking dish. Use a spatula or buttered hands to gently press it into an even layer.
Melt the Chocolate: In a microwave-safe bowl or using a double boiler, melt the chocolate and coconut oil together until smooth.
Top with Chocolate: Pour the melted chocolate over the Rice Krispie layer and spread evenly. Add a few extra cherries on top if desired.
Set and Slice: Let the bars set at room temperature until the chocolate hardens, or speed things up by placing the pan in the fridge for about 30 minutes. Once set, slice into squares and enjoy!
Tips for Making the Best Chocolate Covered Cherry Rice Krispie Treats

Dry the Cherries Well: To prevent soggy treats, make sure to pat your cherries dry before adding them to the mix.
Don’t Overmix: Gently fold the cherries into the marshmallow mixture to keep them from breaking apart.
Use a Light Hand: Press the mixture into the pan lightly; packing it too tightly can make the bars hard and dense.
Customize the Chocolate: Drizzle white chocolate or sprinkle with chopped nuts for extra flair.
Storage Tip: If stacking the treats for storage, place parchment paper between layers to prevent sticking.
Reader Reviews
⭐⭐⭐⭐⭐ “Absolutely delicious! The cherry flavor pops and the chocolate topping is just perfect. My kids ask for these weekly now!”
⭐⭐⭐⭐ “These were so fun to make and eat! I might use milk chocolate next time because I prefer a sweeter touch, but otherwise, fantastic.”
⭐⭐⭐⭐⭐ “Perfect for busy moms like me! Quick to make, minimal mess, and they look like they came from a fancy bakery.”
⭐⭐⭐ “Tasty, but I wish I had dried the cherries more before mixing, mine turned out a little sticky. Will know for next time!”
⭐⭐⭐⭐⭐ “Five stars all the way. Such a creative spin on a classic treat. They were gone before I even had a chance to wrap them up!”
Printable Recipe

Before you print the recipe, could I ask you a favor? Please consider sharing this recipe on Facebook or pin to a group on Pinterest? This would really help us out. Thank you so much <3
Chocolate Covered Cherry Rice Krispie Treats
These Chocolate Covered Cherry Rice Krispie Treats are a fun and festive twist on a beloved classic. Bursting with juicy cherries and finished with a luscious layer of dark chocolate, they’re perfect for family gatherings, school parties, or whenever you need a quick, crowd-pleasing treat. Gluten-free friendly and irresistibly delicious, they’re bound to become a new household favorite!
Ingredients
- 6 cups Rice Krispie cereal
- 4 cups mini marshmallows
- 3 tablespoons butter
- 1/2 teaspoon cherry extract (optional but recommended)
- 1 cup chopped fresh cherries (pitted)
- 8 oz dark chocolate chips or chunks
- 1 tablespoon coconut oil (optional, for smoother chocolate)
- Extra cherries for garnish (optional)
- Special Tools:
- 9x13-inch baking dish
- Parchment paper
- Microwave-safe bowl or double boiler (for melting chocolate)
- Spatula
Instructions
- Prepare the Dish: Line a 9x13-inch baking dish with parchment paper and lightly grease it to prevent sticking.
- Melt the Marshmallows: In a large saucepan over low heat, melt the butter. Add the marshmallows and stir constantly until completely melted and smooth.
- Add Cherry Flavor: Stir in the cherry extract if using, then gently fold in the chopped cherries.
- Mix the Cereal: Remove from heat and immediately add the Rice Krispie cereal. Stir until everything is evenly coated.
- Press into Pan: Transfer the mixture into the prepared baking dish. Use a spatula or buttered hands to gently press it into an even layer.
- Melt the Chocolate: In a microwave-safe bowl or using a double boiler, melt the chocolate and coconut oil together until smooth.
- Top with Chocolate: Pour the melted chocolate over the Rice Krispie layer and spread evenly. Add a few extra cherries on top if desired.
- Set and Slice: Let the bars set at room temperature until the chocolate hardens, or speed things up by placing the pan in the fridge for about 30 minutes. Once set, slice into squares and enjoy!
If you enjoyed this recipe, please share it on your social media! I would love for more people to try this delicious and easy-to-make recipe. If you have any questions or feedback, please feel free to leave a comment below. I would love to hear from you! Shhh… Join our secret foodie group on Facebook
Rhubarb Meringue Pie
Tangy Lemon Tartlets
Strawberry Oatmeal Bars