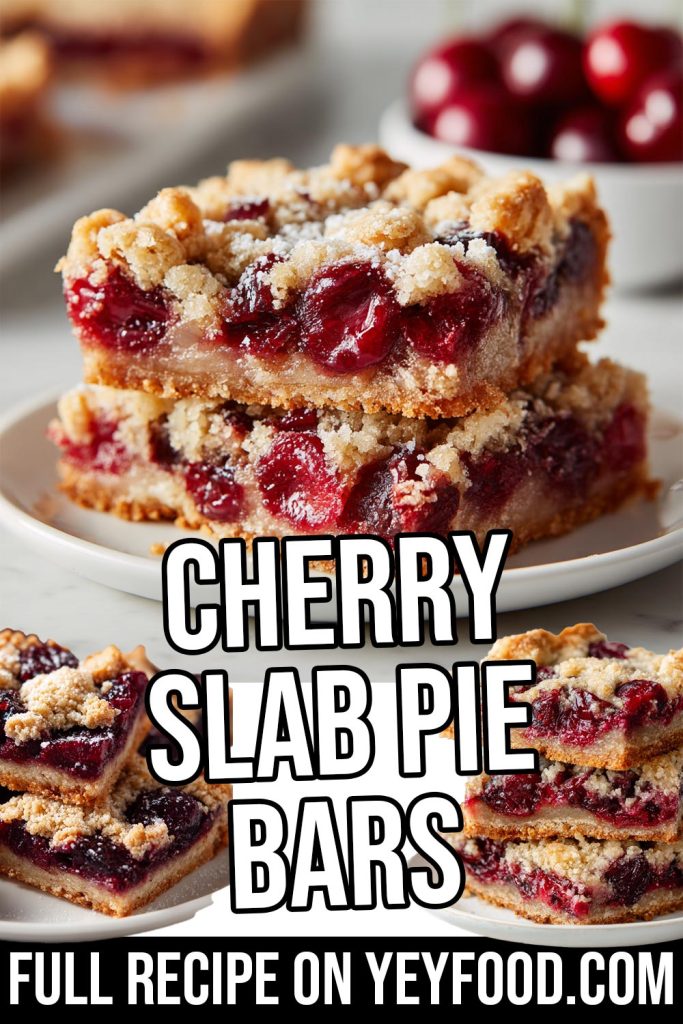
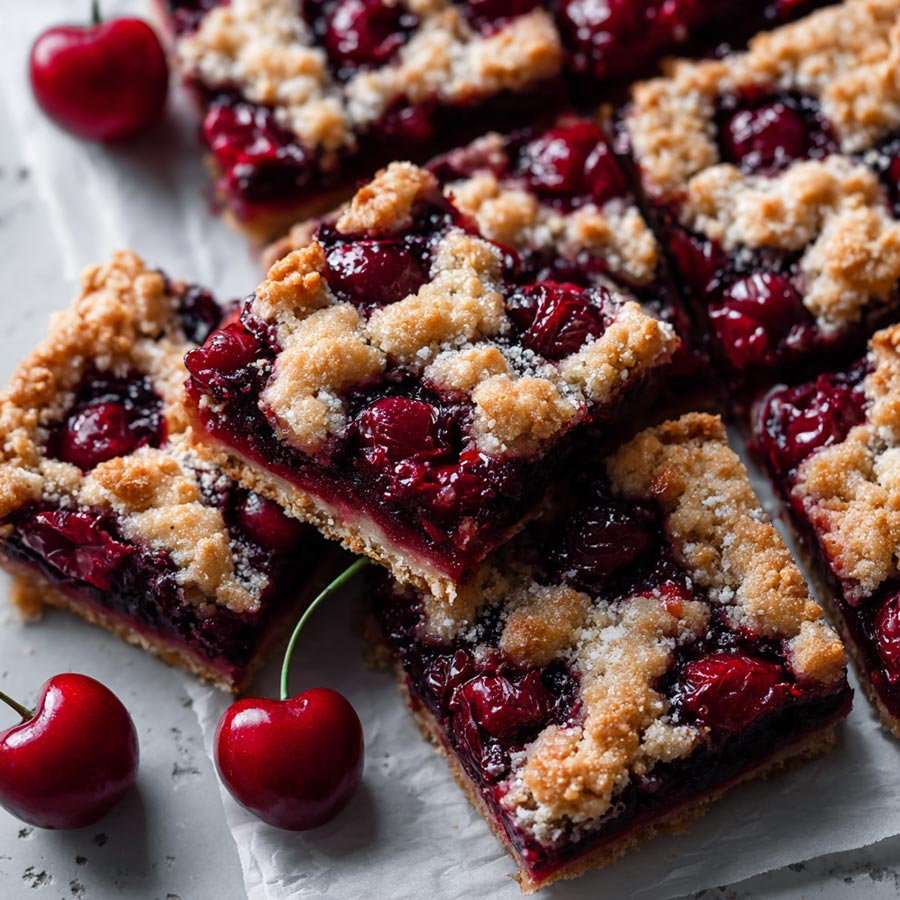
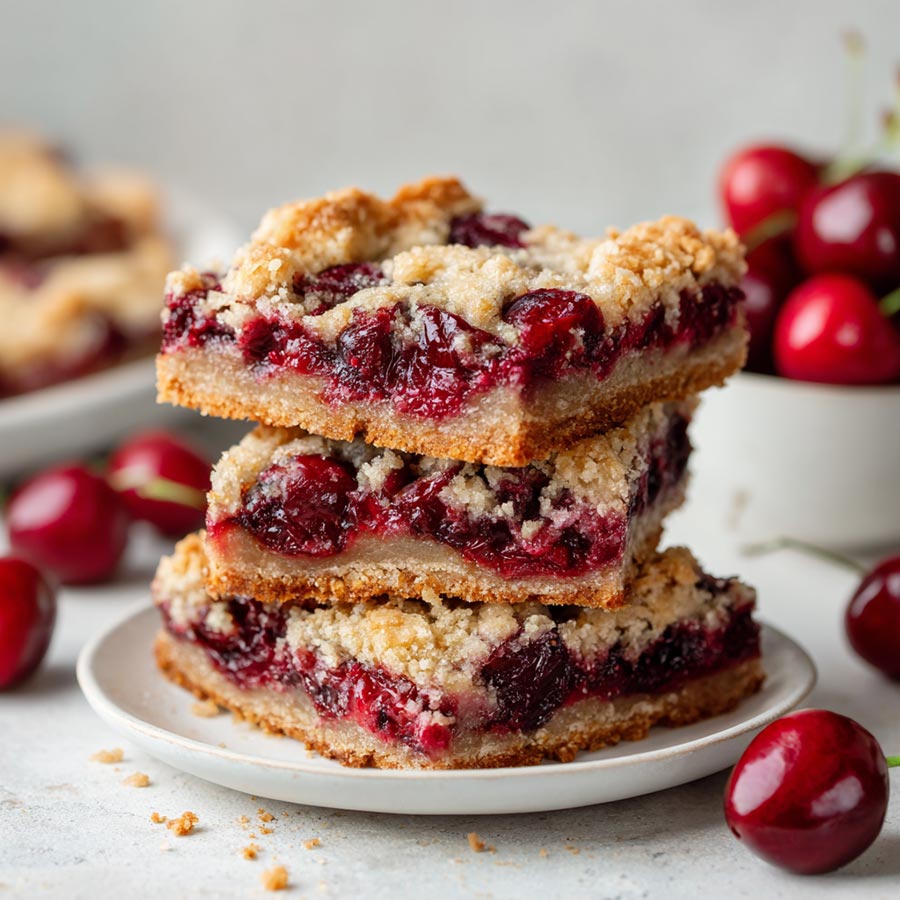
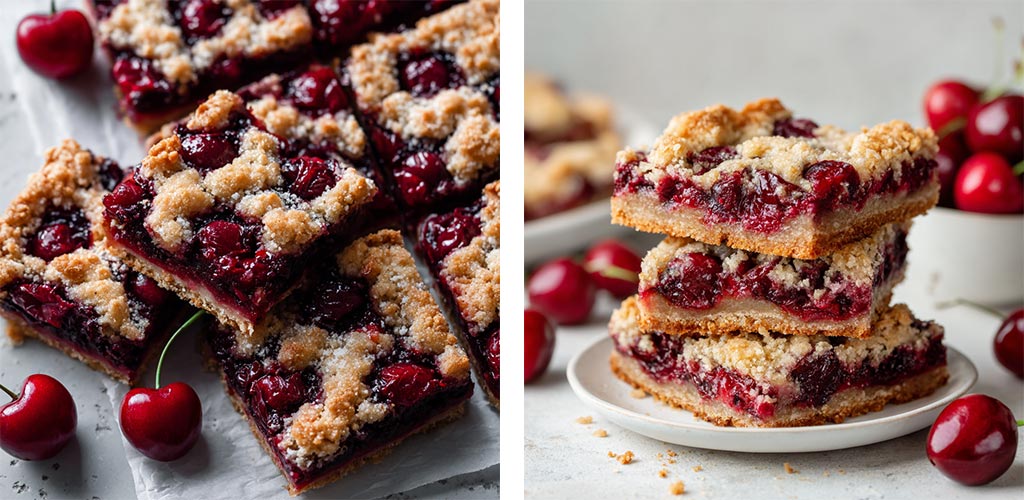
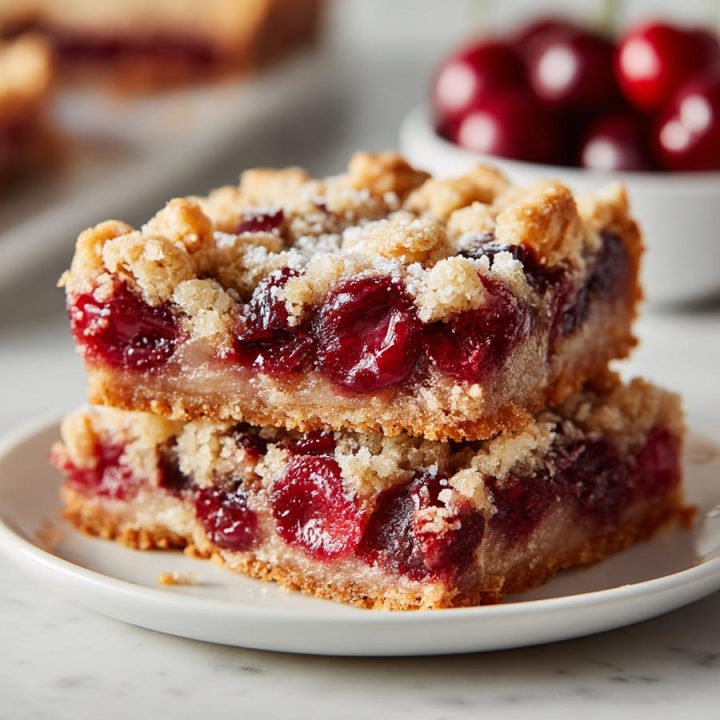
Cherry Slab Pie Bars
There’s something wonderfully nostalgic about the smell of fresh cherry pie baking in the oven. For me, it instantly brings back memories of summer picnics, school bake sales, and the kind of kitchen chaos that always ends with sticky fingers and full hearts.
I first made these Cherry Slab Pie Bars on a whim after spotting a gorgeous batch of fresh cherries at the farmer’s market. I had originally planned on a classic pie, but with the kids home and my to-do list a mile long, I needed something a little more low-maintenance, but still full of that homey, comforting flavor we all love.
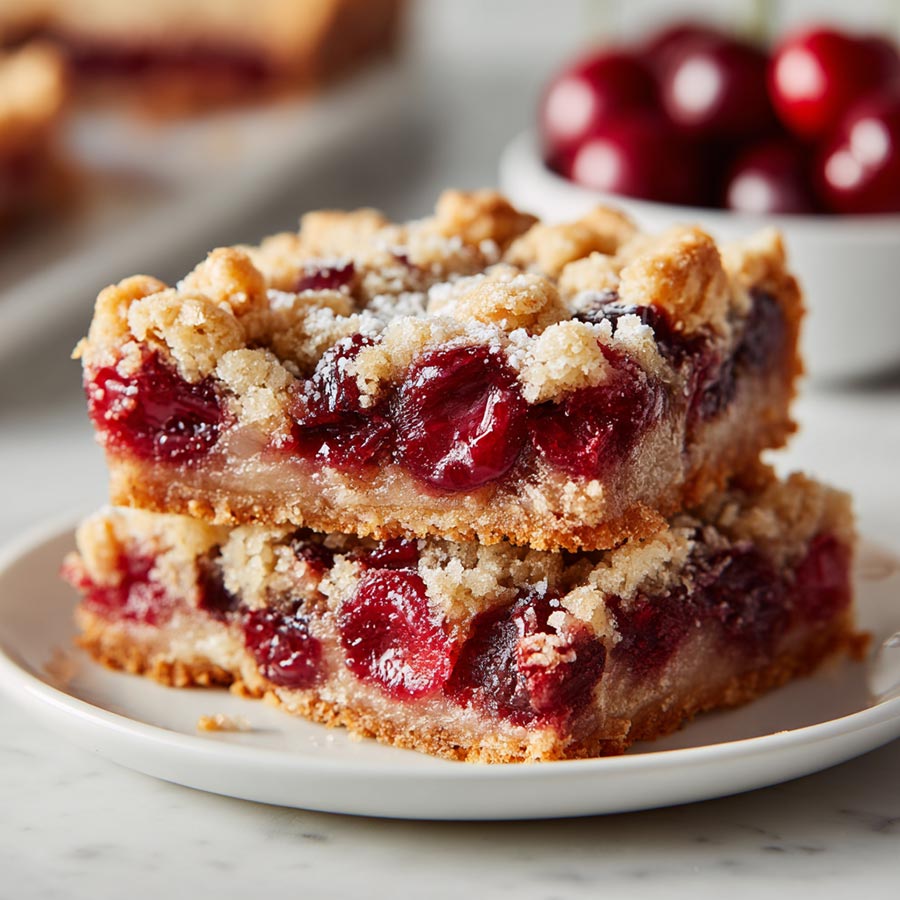
These bars came together like magic. A buttery, flaky crust, a thick, jammy cherry filling, and a golden sugar-dusted top that adds just the right crunch, every bite is pure comfort. The best part? You can slice them into tidy squares, making them perfect for sharing, storing, or sneaking straight from the pan with a fork (we’ve all been there). My family devoured them before they had a chance to fully cool, and they’ve since become a non-negotiable part of our summer baking routine.
If you’re looking for a dessert that feels like a warm hug, is easy to make, and guaranteed to please a crowd, these Cherry Slab Pie Bars are exactly what you need. They’ve quickly become one of our most beloved treats, and I have a feeling they’ll be the same for your family, too.
Questions I Often Get Asked About This Recipe
Can I use frozen cherries instead of fresh?
Absolutely! Just be sure to thaw and drain them well so the filling doesn’t get too watery.
How do I store these bars?
They keep wonderfully at room temperature in an airtight container for up to 3 days, or in the fridge for 5. They’re also freezer-friendly for up to 2 months.
Can I make them ahead of time?
Yes! These bars are actually even better the next day when the flavors have had time to settle.
Do I need to blind bake the crust first?
Nope! The bottom crust bakes perfectly with the filling all at once, no pre-baking needed.
What if I don’t have a pastry cutter?
No problem! You can use two knives or even your fingertips to work the butter into the dough.
What You Need to Make Cherry Slab Pie Bars

For the crust:
3 cups all-purpose flour
1 tablespoon sugar
1 teaspoon salt
1 cup (2 sticks) cold unsalted butter, cubed
1 large egg
1/2 cup cold water
1 tablespoon vinegar (white or apple cider)
For the cherry filling:
6 cups fresh or frozen pitted cherries
1 cup sugar
1/4 cup cornstarch
1 tablespoon lemon juice
1 teaspoon vanilla extract
Pinch of salt
For topping:
1 egg, beaten (for egg wash)
Coarse sugar (like turbinado or sanding sugar)
Special equipment:
9×13-inch baking pan
Rolling pin
Pastry brush
How to Make Cherry Slab Pie Bars

Make the crust: In a large bowl, whisk flour, sugar, and salt. Cut in cold butter until mixture resembles coarse crumbs. In a separate bowl, beat egg with water and vinegar, then mix into the flour until dough forms. Divide dough in half, flatten into discs, wrap, and chill for 30 minutes.
Prepare the filling: While the dough chills, combine cherries, sugar, cornstarch, lemon juice, vanilla, and salt in a saucepan. Cook over medium heat until thickened, about 10–12 minutes. Let cool.
Assemble the bars: Roll out one dough disc into a large rectangle and press into a greased 9×13-inch baking dish. Pour the cherry filling over the crust.
Top and bake: Roll out the second dough disc and place over the filling. Seal the edges and cut a few slits for steam. Brush with egg wash and sprinkle with coarse sugar.
Bake: Bake at 375°F (190°C) for 40–45 minutes, or until golden brown. Let cool before slicing into bars.
Tips for Making the Best Cherry Slab Pie Bars
Cold ingredients = flaky crust: Keep your butter and liquids cold to achieve that perfect, tender pastry.
No fresh cherries? Use frozen, but be sure to thaw and drain to avoid soggy bars.
Get creative with patterns: Use cookie cutters or lattice strips on the top crust for a decorative touch.
Don’t skip the sugar topping: That crunchy, sweet finish really takes these bars over the top.
Let them cool completely: This helps the filling set, making them easier to cut cleanly.
Reader Reviews
⭐️⭐️⭐️⭐️⭐️ “Delicious and easy!” These turned out better than I imagined. The crust was so flaky and buttery, and the filling had just the right amount of sweetness.
⭐️⭐️⭐️⭐️ “A new favorite.” I loved how simple this was to put together. I used frozen cherries and it still tasted fresh. Next time I’ll add a bit of almond extract!
⭐️⭐️⭐️⭐️⭐️ “Perfect for potlucks.” Made this for a school bake sale and they disappeared within minutes. Definitely saving this one for repeat use.
⭐️⭐️⭐️⭐️ “A little too sweet for me.” Tasted great, but I think I’ll reduce the sugar in the filling next time. Still a solid recipe overall!
⭐️⭐️⭐️⭐️⭐️ “Even better the next day.” I made these ahead for a weekend gathering and they were a hit. The flavors deepen overnight, highly recommend!
Printable Recipe
Before you print the recipe, could I ask you a favor? Please consider sharing this recipe on Facebook or pin to a group on Pinterest? This would really help us out. Thank you so much <3
Cherry Slab Pie Bars
These Cherry Slab Pie Bars are the perfect fusion of rustic cherry pie and easy-to-serve dessert bars. With a flaky homemade crust, juicy cherry filling, and a sugary golden top, they’re ideal for gatherings, bake sales, or a simple treat at home. Make-ahead friendly and freezer-ready!
Ingredients
- For the crust:
- 3 cups all-purpose flour
- 1 tablespoon sugar
- 1 teaspoon salt
- 1 cup (2 sticks) cold unsalted butter, cubed
- 1 large egg
- 1/2 cup cold water
- 1 tablespoon vinegar (white or apple cider)
- For the cherry filling:
- 6 cups fresh or frozen pitted cherries
- 1 cup sugar
- 1/4 cup cornstarch
- 1 tablespoon lemon juice
- 1 teaspoon vanilla extract
- Pinch of salt
- For topping:
- 1 egg, beaten (for egg wash)
- Coarse sugar (like turbinado or sanding sugar)
- Special equipment:
- 9x13-inch baking pan
- Rolling pin
- Pastry brush
Instructions
- Make the crust: In a large bowl, whisk flour, sugar, and salt. Cut in cold butter until mixture resembles coarse crumbs. In a separate bowl, beat egg with water and vinegar, then mix into the flour until dough forms. Divide dough in half, flatten into discs, wrap, and chill for 30 minutes.
- Prepare the filling: While the dough chills, combine cherries, sugar, cornstarch, lemon juice, vanilla, and salt in a saucepan. Cook over medium heat until thickened, about 10–12 minutes. Let cool.
- Assemble the bars: Roll out one dough disc into a large rectangle and press into a greased 9x13-inch baking dish. Pour the cherry filling over the crust.
- Top and bake: Roll out the second dough disc and place over the filling. Seal the edges and cut a few slits for steam. Brush with egg wash and sprinkle with coarse sugar.
- Bake: Bake at 375°F (190°C) for 40–45 minutes, or until golden brown. Let cool before slicing into bars.
If you enjoyed this recipe, please share it on your social media! I would love for more people to try this delicious and easy-to-make recipe. If you have any questions or feedback, please feel free to leave a comment below. I would love to hear from you! Shhh… Join our secret foodie group on Facebook
Rhubarb Meringue Pie
Tangy Lemon Tartlets
Strawberry Oatmeal Bars