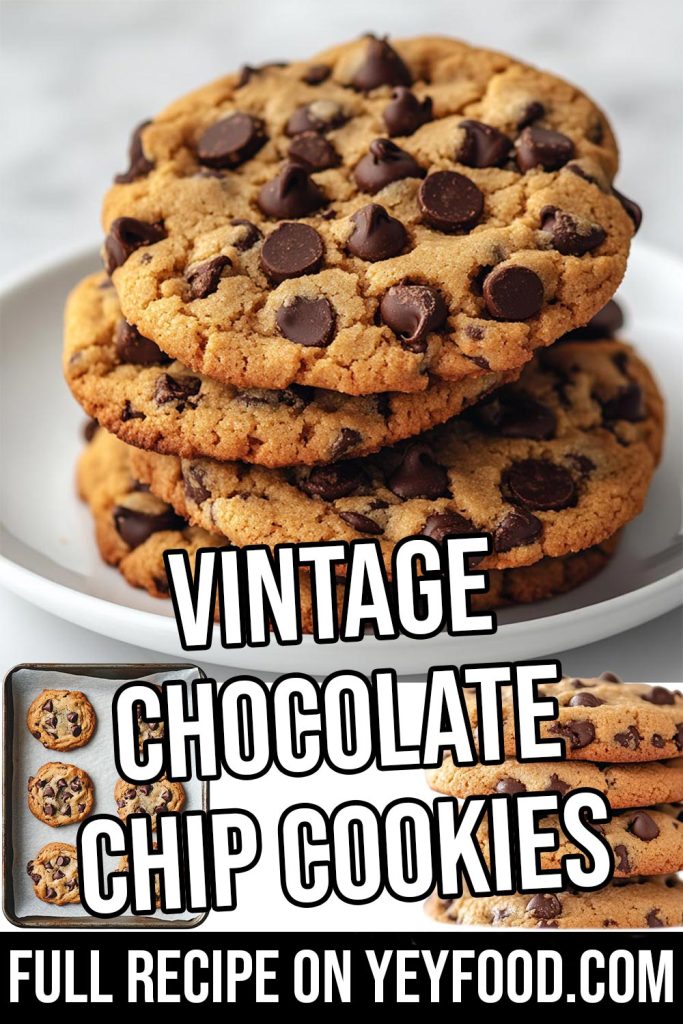
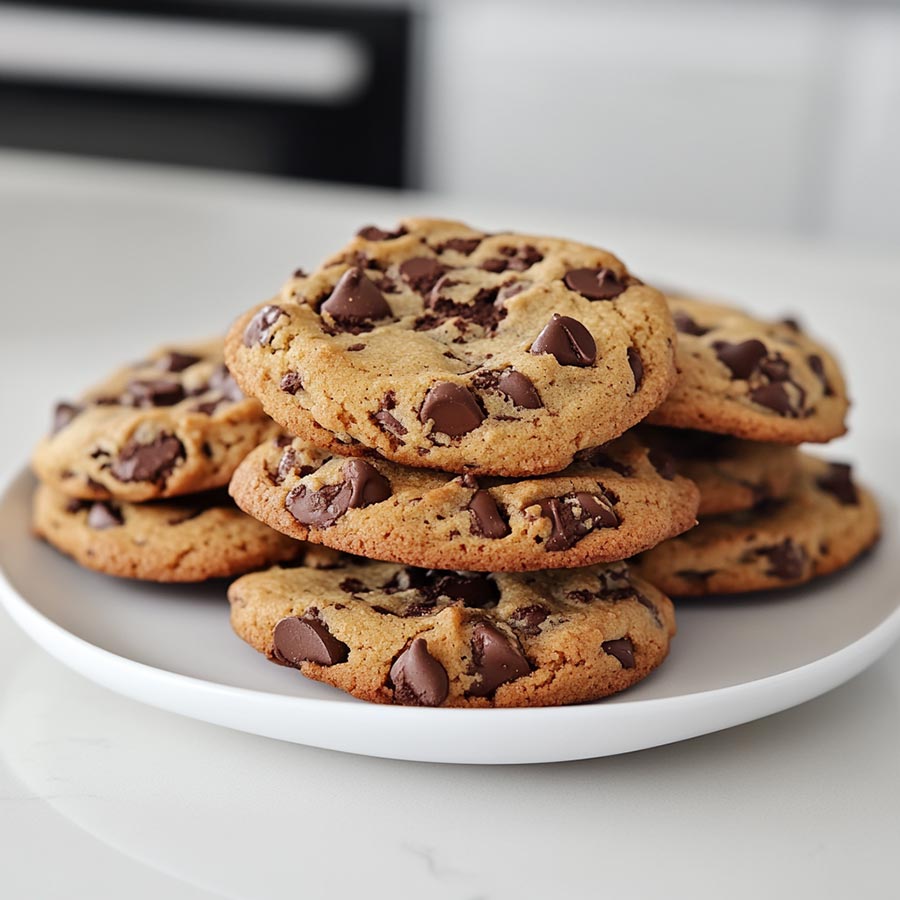
Vintage Chocolate Chip Cookies

There’s something magical about the aroma of freshly baked chocolate chip cookies filling the kitchen. It’s the kind of scent that takes me straight back to my childhood. When my mom would bake a fresh batch after school, and we’d eagerly wait for them to cool just enough to take that first warm, gooey bite. These Vintage Chocolate Chip Cookies have become a beloved staple in my home, and every time I make them, they disappear faster than I can say, “Let them cool first!”
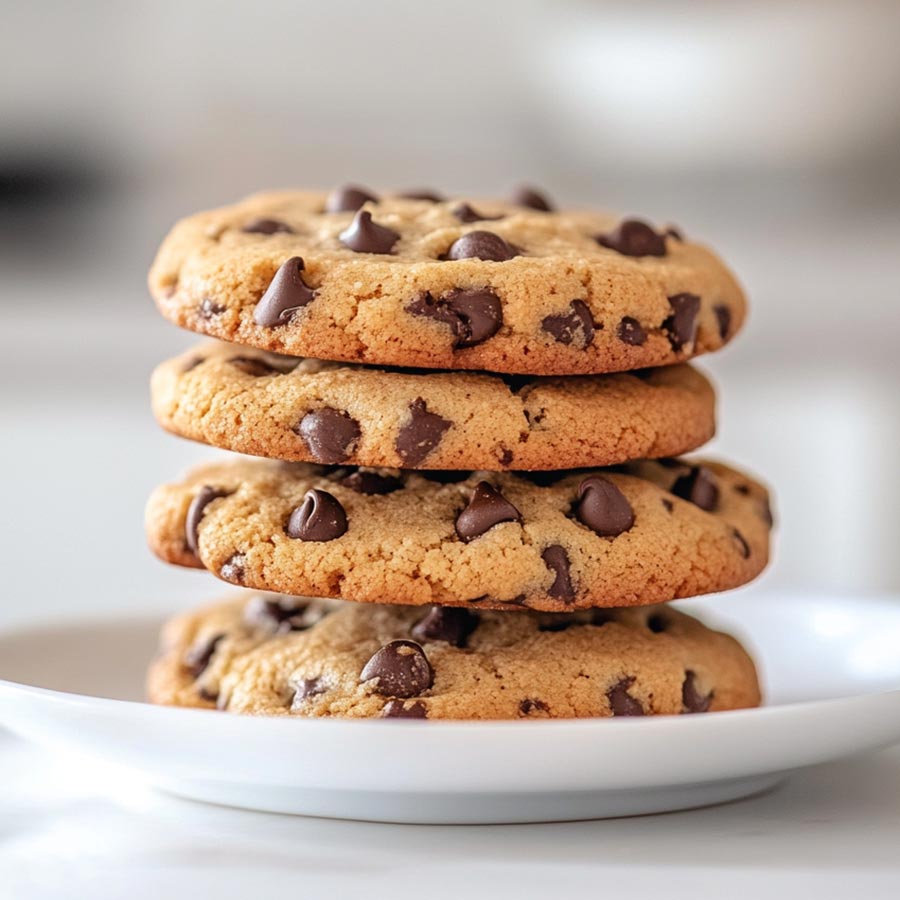
This recipe is everything you could want in a chocolate chip cookie: crisp edges, a soft center, and just the right balance of buttery richness and chocolatey goodness. I’ve tried countless recipes over the years, tweaking ingredients here and there, and this version is the one my family and friends always rave about. Whether you’re baking for an after-school treat, a holiday cookie exchange, or simply because you deserve something sweet, these cookies won’t disappoint.
The best part? You don’t need any fancy ingredients or complicated techniques, just classic pantry staples and a little love. These cookies hold a special place in our hearts, and I hope they become a treasured recipe in your home, too.
Questions I Often Get Asked About This Recipe
Can I make the dough ahead of time?
Yes! You can refrigerate the dough for up to 72 hours before baking. Chilling enhances the flavor and texture.
What type of chocolate should I use?
I recommend semi-sweet chocolate chunks for a rich flavor, but feel free to use dark, milk, or a mix.
Can I freeze these cookies?
Absolutely! Freeze the baked cookies for up to three months or freeze the dough in scoops for fresh cookies on demand.
Why did my cookies turn out too flat?
This could be due to overly softened butter or not enough flour. Try chilling the dough before baking.
Can I substitute the butter with margarine?
You can, but it will affect the texture. Butter gives the cookies their classic richness and chewiness.
What You Need to Make Vintage Chocolate Chip Cookies
Ingredients:
1 cup (2 sticks) unsalted butter, softened
1 cup brown sugar, packed
1/2 cup granulated sugar
2 large eggs
2 teaspoons pure vanilla extract
2 1/4 cups all-purpose flour
1 teaspoon baking soda
1/2 teaspoon salt
2 cups semi-sweet chocolate chunks
Special Equipment:
Mixing bowls
Hand or stand mixer
Baking sheets
Parchment paper
Cooling rack
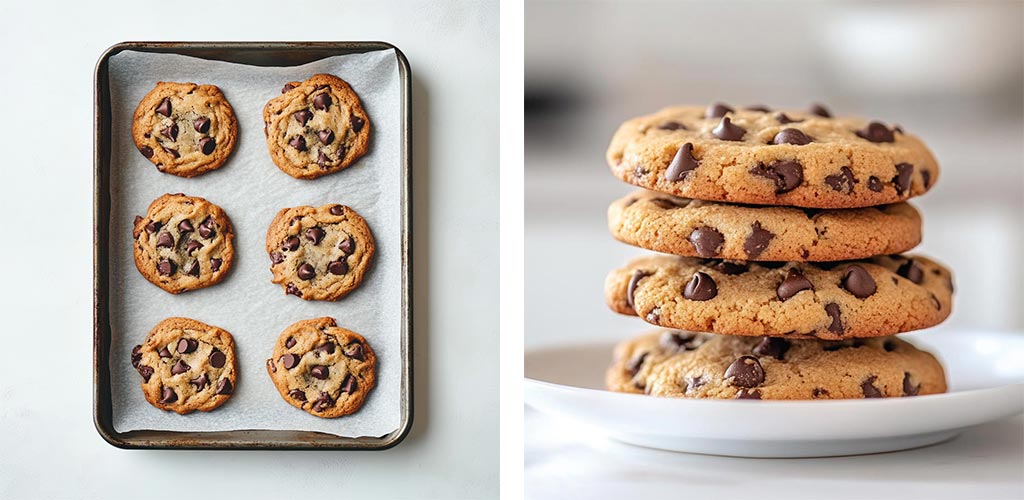
How to Make Vintage Chocolate Chip Cookies
Preheat & Prep. Preheat your oven to 350°F (175°C) and line baking sheets with parchment paper.
Cream the Butter & Sugars. In a large bowl, beat the butter, brown sugar, and granulated sugar until light and fluffy.
Add the Wet Ingredients. Mix in the eggs, one at a time, followed by the vanilla extract.
Combine the Dry Ingredients. In a separate bowl, whisk together the flour, baking soda, and salt.
Mix & Fold. Gradually add the dry ingredients to the wet mixture. Stir in the chocolate chunks.
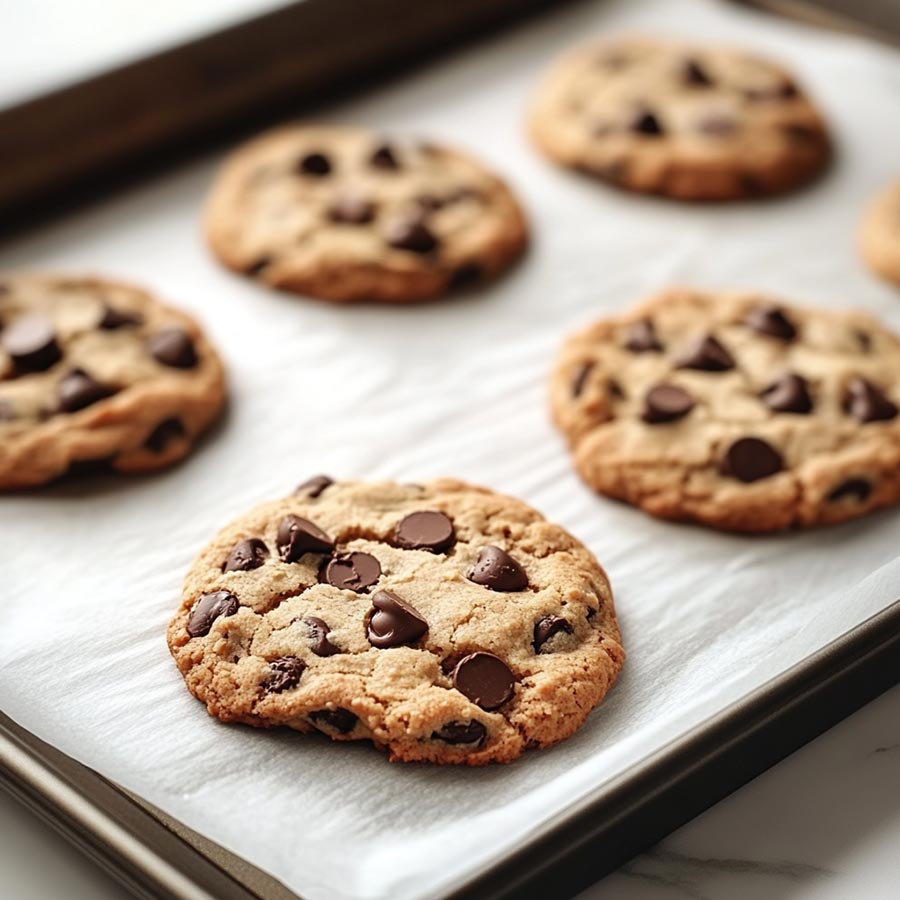
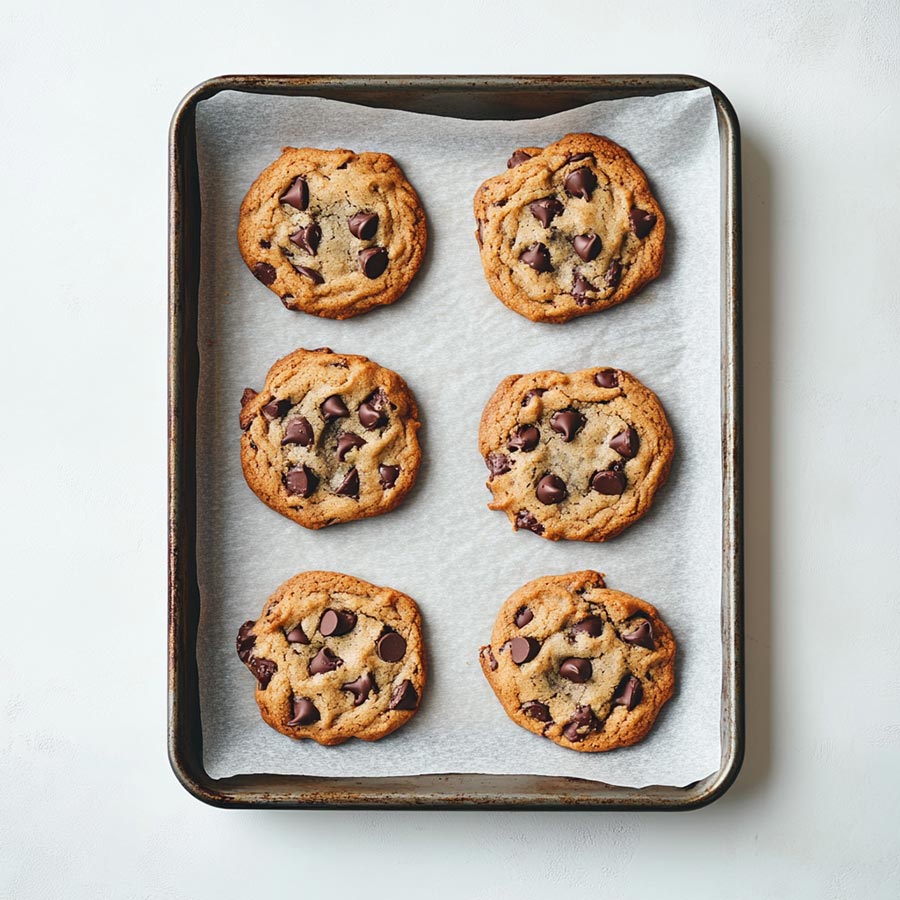
Scoop & Bake. Drop spoonfuls of dough onto the prepared baking sheets, spacing them about 2 inches apart.
Bake to Perfection. Bake for 10-12 minutes until the edges are golden but the centers are still soft.
Cool & Enjoy. Let cookies rest on the sheet for 5 minutes before transferring them to a cooling rack.
Tips for Making the Best Vintage Chocolate Chip Cookies
Chill the Dough. For thicker cookies, chill the dough for at least 30 minutes before baking.
Use Quality Chocolate. High-quality chocolate chunks melt better and create those irresistible gooey bites.
Don’t Overbake. Cookies should be slightly underbaked in the center; they’ll firm up as they cool.
Room Temperature Ingredients. Ensures even mixing and a smooth dough.
Experiment with Add-Ins. Try adding chopped nuts or a sprinkle of sea salt on top for a twist.
Reader Reviews
⭐️⭐️⭐️⭐️⭐️ “These cookies are a dream! Crispy edges, chewy center. Just how I love them!” – Sarah M.
⭐️⭐️⭐️⭐️ “Great recipe! Next time, I’ll add a pinch of cinnamon for a little extra warmth.” – Jake L.
⭐️⭐️⭐️⭐️⭐️ “My kids devoured these in minutes. Definitely my new go-to cookie recipe!” – Emily R.
⭐️⭐️⭐️⭐️ “Good, but mine spread a bit too much. I’ll chill the dough next time.” – Brian K.
⭐️⭐️⭐️⭐️⭐️ “These remind me of the cookies my grandma used to make. Absolute perfection!” – Lisa T.
Printable Recipe
Before you print the recipe, could I ask you a favor? Please consider sharing this recipe on Facebook or pin to a group on Pinterest? This would really help us out. Thank you so much <3

Vintage Chocolate Chip Cookies
These Vintage Chocolate Chip Cookies have the perfect balance of crisp edges and a soft, chewy center. Made with simple pantry staples and rich chocolate chunks, they’re the ultimate classic cookie recipe that never goes out of style.
Ingredients
- 1 cup (2 sticks) unsalted butter, softened
- 1 cup brown sugar, packed
- 1/2 cup granulated sugar
- 2 large eggs
- 2 teaspoons pure vanilla extract
- 2 1/4 cups all-purpose flour
- 1 teaspoon baking soda
- 1/2 teaspoon salt
- 2 cups semi-sweet chocolate chunks
- Special Equipment:
- Mixing bowls
- Hand or stand mixer
- Baking sheets
- Parchment paper
- Cooling rack
Instructions
- Preheat & Prep – Preheat your oven to 350°F (175°C) and line baking sheets with parchment paper.
- Cream the Butter & Sugars – In a large bowl, beat the butter, brown sugar, and granulated sugar until light and fluffy.
- Add the Wet Ingredients – Mix in the eggs, one at a time, followed by the vanilla extract.
- Combine the Dry Ingredients – In a separate bowl, whisk together the flour, baking soda, and salt.
- Mix & Fold – Gradually add the dry ingredients to the wet mixture. Stir in the chocolate chunks.
- Scoop & Bake – Drop spoonfuls of dough onto the prepared baking sheets, spacing them about 2 inches apart.
- Bake to Perfection – Bake for 10-12 minutes until the edges are golden but the centers are still soft.
- Cool & Enjoy – Let cookies rest on the sheet for 5 minutes before transferring them to a cooling rack.
If you enjoyed this recipe, please share it on your social media! I would love for more people to try this delicious and easy-to-make recipe. If you have any questions or feedback, please feel free to leave a comment below. I would love to hear from you! Shhh… Join our secret foodie group on Facebook
Crockpot White Russians
Crockpot Meatballs In Onion Gravy
Crockpot Apple Cider