Amish Friendship Bread Starter Recipe

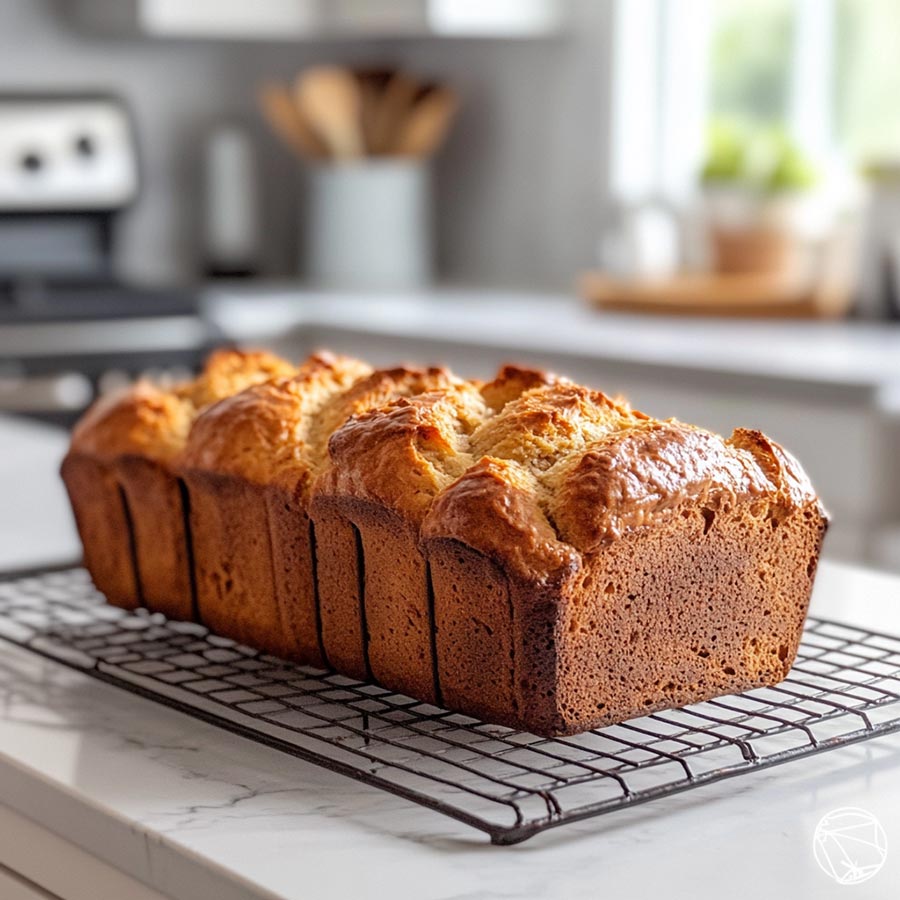
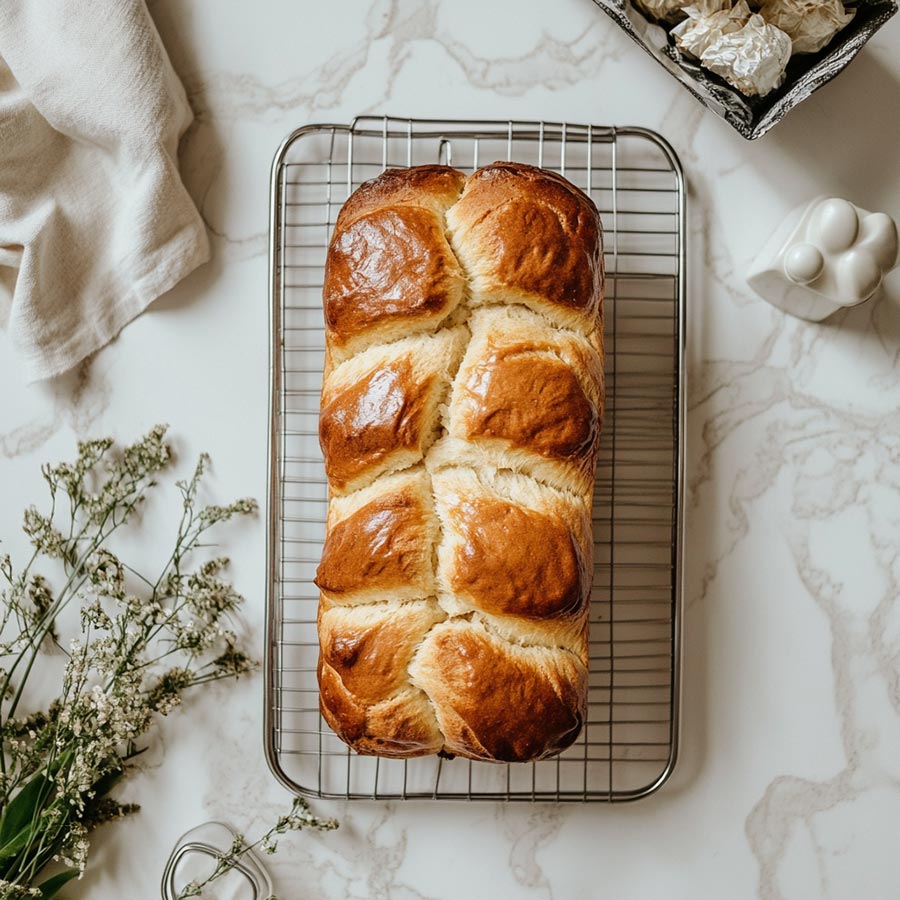
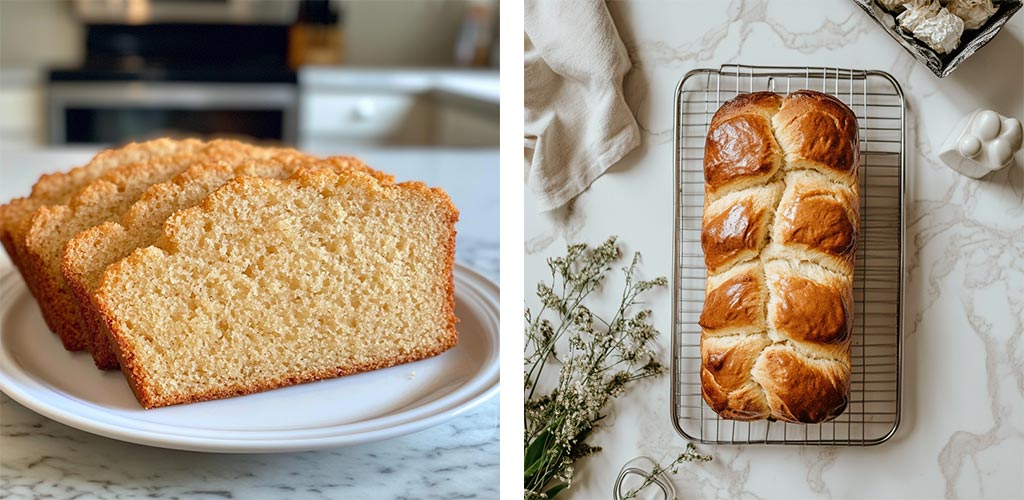
There’s something uniquely comforting about Amish Friendship Bread. It’s a recipe passed from friend to friend, creating a bond over something as simple as bread. For my family, making this bread has become a cherished tradition, especially as we see the excitement on each other’s faces when it’s time to “feed” the starter or bake a fresh batch. The anticipation of sharing it with neighbors and friends adds to the magic. The subtle sweetness, the moist, fluffy texture, and the aroma filling the house make it worth every step.
When I first decided to try this recipe, I was intrigued by its communal aspect. It’s like sourdough, but with a unique sweetness, and the starter is super easy to manage. Perfect for busy moms who want homemade treats without being tied to the kitchen all day. The kids love helping too, especially with the fun task of “mashing the bag” each day. This is more than just bread; it’s a project, a tradition, and a little piece of our family’s heart. So, if you’re ready for a recipe that brings more than just delicious bread, dive into the world of Amish Friendship Bread. Trust me, it’s worth it!
Questions I Often Get Asked About This Recipe:

Q: Do I really have to mash the bag every day?
A: Yes, but it’s super quick! Mashing the bag helps mix the ingredients and keeps the starter active.
Q: Can I use any type of milk?
A: Whole milk is ideal for richness, but any milk will work fine. Some even use dairy alternatives with success!
Q: What if I forget a day?
A: Don’t stress! If you skip a day, just pick up the process the next day. Missing one mash won’t ruin your starter.
Q: Do I need to refrigerate the starter?
A: No, it’s best left at room temperature. If you refrigerate it, the yeast won’t stay as active.
Q: How long does the starter last?
A: If you “feed” it on schedule, it can last indefinitely! You’ll always have a base for delicious bread.
What You Need to Make Amish Friendship Bread Starter:

Ingredients
1 cup flour
1 cup sugar
1 cup milk
Additional 1 cup each of flour, sugar, and milk for Day 6
Tools
1-gallon resealable plastic bag (Ziploc bag works best)
Measuring cups
Non-metal bowl for mixing on Day 10
How to make it:

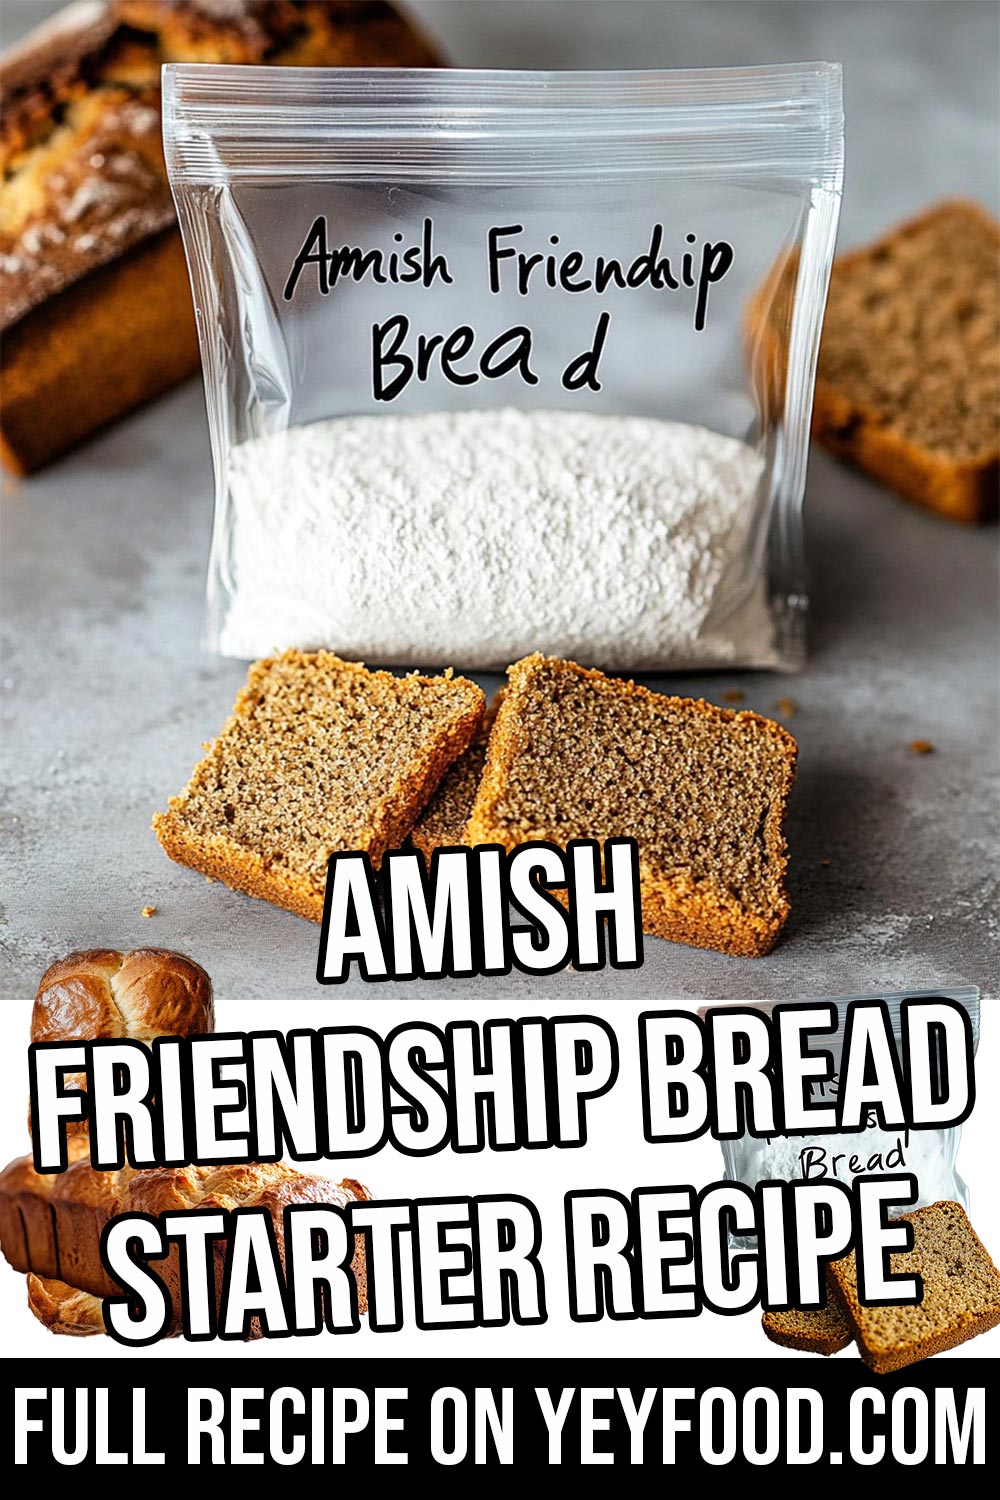
Day 1: Place 1 cup flour, 1 cup sugar, and 1 cup milk in a resealable plastic bag. Seal it and leave it at room temperature. This is the beginning of your starter.
Days 2-5: Simply mash the bag once daily. This keeps the ingredients mixed and the yeast happy.
Day 6: Open the bag and add another 1 cup of flour, 1 cup of sugar, and 1 cup of milk. Seal the bag and mash it to mix.
Days 7-9: Mash the bag once daily, keeping the starter active and well-mixed.
Day 10: Pour the starter into a non-metal bowl. Add 1 cup of flour, 1 cup of sugar, and 1 cup of milk. Mix well, then measure out 1 cup portions into separate bags to share with friends, keeping one portion to bake with!
Tips:

Keep It Airy: Make sure the bag isn’t too tight, as the yeast produces gas. Let some air out if the bag starts to puff up.
Use Plastic, Not Metal: Metal can react with the starter, so always mix and store it in non-metal containers.
Customize the Flavor: When it’s baking day, add chocolate chips, cinnamon, or nuts to make it your own.
Freezing the Starter: If you’re not ready to bake or share, you can freeze the starter. Just thaw it and continue the process when you’re ready.
Latest Reviews:

⭐️⭐️⭐️⭐️⭐️ “This bread brought my whole family to the kitchen! A must-try for busy moms who want a fun project with the kids.” Rachel T.
⭐️⭐️⭐️⭐️ “Great recipe, but I wish there was an easier way to share without using so much sugar. Will definitely make it again!” Linda S.
⭐️⭐️⭐️⭐️⭐️ “The best! My friends were thrilled when I gave them a starter bag, and the bread came out perfect!” Mark D.
⭐️⭐️⭐️⭐️ “Took a little longer than I expected, but it’s worth it. Next time, I’ll add some cinnamon!” Jamie L.
⭐️⭐️⭐️⭐️⭐️ “My kids love helping out with this one. The mashing is their favorite part. Delicious bread!” Karen P.
Printable Recipe:

Before you print the recipe, could I ask you a favor? Please consider sharing this recipe on Facebook or pin to a group on Pinterest? This would really help us out. Thank you so much <3

Amish Friendship Bread Starter Recipe
Start a tradition with this Amish Friendship Bread Starter recipe! Simple to make and a joy to share, this recipe lets you bake and pass along the goodness of homemade bread with friends and family. Perfect for busy moms, this starter keeps giving as you keep sharing!
Ingredients
- 1 cup flour
- 1 cup sugar
- 1 cup milk
- Additional 1 cup each of flour, sugar, and milk for Day 6
- Tools
- 1-gallon resealable plastic bag (Ziploc bag works best)
- Measuring cups
- Non-metal bowl for mixing on Day 10
Instructions
- Day 1: Place 1 cup flour, 1 cup sugar, and 1 cup milk in a resealable plastic bag. Seal it and leave it at room temperature. This is the beginning of your starter.
- Days 2-5: Simply mash the bag once daily. This keeps the ingredients mixed and the yeast happy.
- Day 6: Open the bag and add another 1 cup of flour, 1 cup of sugar, and 1 cup of milk. Seal the bag and mash it to mix.
- Days 7-9: Mash the bag once daily, keeping the starter active and well-mixed.
- Day 10: Pour the starter into a non-metal bowl. Add 1 cup of flour, 1 cup of sugar, and 1 cup of milk. Mix well, then measure out 1 cup portions into separate bags to share with friends, keeping one portion to bake with!
If you enjoyed this recipe, please share it on your social media! I would love for more people to try this delicious and easy-to-make recipe. If you have any questions or feedback, please feel free to leave a comment below. I would love to hear from you! Shhh… Join our secret foodie group on Facebook
Pumpkin Streusel Cheesecake
No-Bake Pumpkin Fudge
Baked Pumpkin Crisp


The recipe says to squish bag to keep yeast active, yet there isn’t any yeast listed in the ingredients, help!