Best Cheesy Garlic Bread Sticks
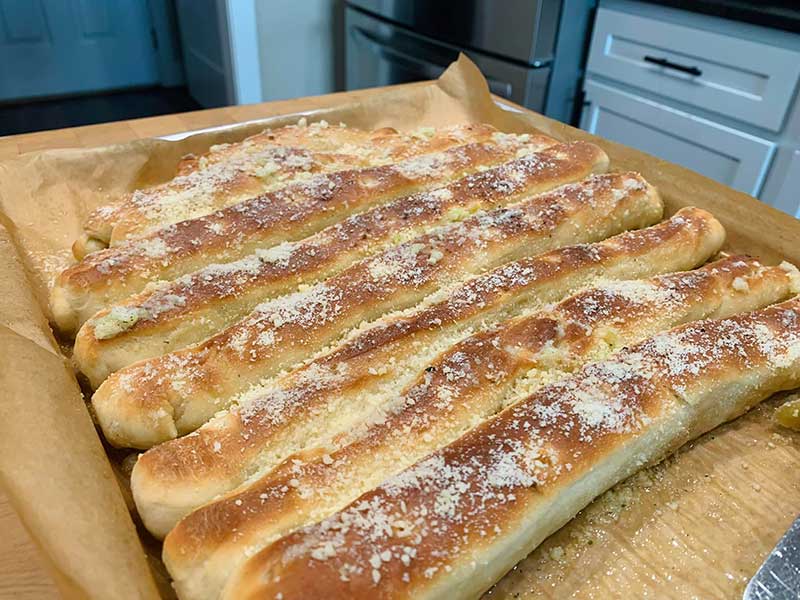
There’s a reason that soft breadsticks are so popular. They’re delicious, they’re versatile, and they’re easy to make. And with this easy recipe, you can make them at home in no time!
Indulge in the irresistible goodness of these quick and cheesy breadsticks, the perfect complement to any meal.
These homemade breadsticks are packed with flavor and sure to satisfy your cravings. Made with simple ingredients and minimal effort, they’re the ideal last-minute addition to your dinner table.
Why you should make this recipe
There are many reasons why you should make this recipe for soft breadsticks. First, they’re delicious. The combination of the soft, fluffy dough and the garlicky butter is simply unbeatable.
Second, they’re easy to make. The recipe only requires a few simple ingredients and steps, so you can have these breadsticks ready in no time.
Third, they’re versatile. You can serve them as an appetizer, a side dish, or even a snack. Finally, they’re a crowd-pleaser. These breadsticks are sure to be a hit at your next party or gathering.
What you need (Printable recipe at the bottom)
Ingredients:
1 cup warm water (105°F to 115°F)
1 package active dry yeast (2 1/4 teaspoons)
2 tablespoons sugar
1 teaspoon salt
2 tablespoons olive oil, plus more for brushing on the breadsticks
3 cups all-purpose flour, plus more for dusting
1/4 cup melted butter
1 teaspoon garlic powder
Instructions
In a large bowl, combine the warm water, yeast, and sugar. Let stand for 5 minutes, or until the yeast is foamy.
Stir in the salt, olive oil, and 2 cups of the flour. Stir until a dough forms.
Turn the dough out onto a lightly floured surface and knead for 5-7 minutes, or until the dough is smooth and elastic.
Place the dough in a greased bowl, cover with plastic wrap, and let rise in a warm place for 1 hour, or until doubled in size.
Preheat the oven to 375°F.
Punch down the dough and divide it in half.
Roll out each half of the dough into a 12-inch long rope.
Cut each rope into 1-inch pieces.
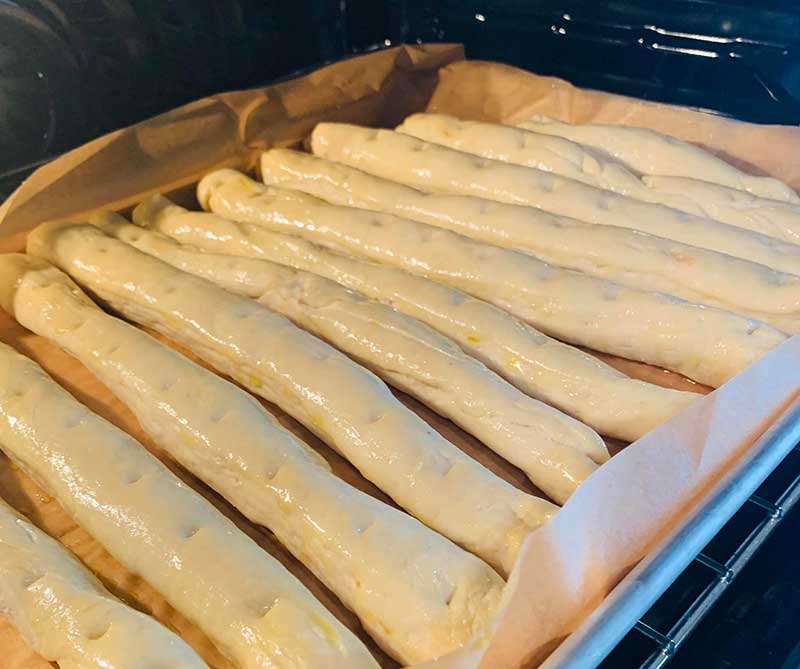
Place the breadsticks on a baking sheet lined with parchment paper.
Brush the breadsticks with olive oil and sprinkle with the garlic powder.
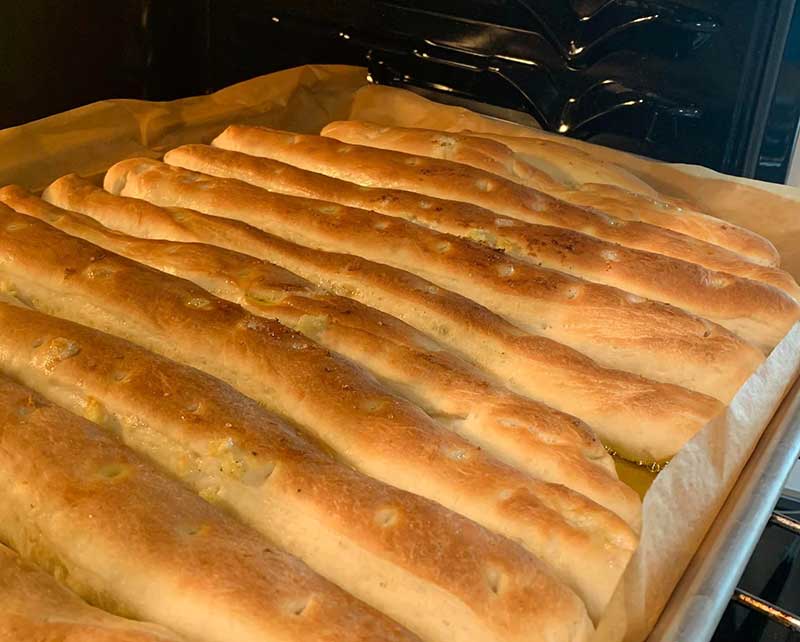
Bake for 15-20 minutes, or until golden brown.
Serve warm.
Tips

For a more flavorful breadstick, use garlic infused olive oil.
If you don’t have parchment paper, you can grease the baking sheet.
You can add other toppings to the breadsticks, such as Parmesan cheese, sesame seeds, or poppy seeds.
The breadsticks can be made ahead of time and baked later. Just cover them and refrigerate them for up to 24 hours before baking.
History of Breadsticks
The history of breadsticks is a long and storied one. They are thought to have originated in Italy, where they were originally made as a way to use up leftover bread dough. Breadsticks quickly became popular throughout Europe, and they eventually made their way to the United States.
Types of Breadsticks
There are many different types of breadsticks, but they all have one thing in common: they are all delicious! Some of the most popular types of breadsticks include:
Garlic breadsticks: These breadsticks are flavored with garlic, and they are often served with a dipping sauce.
Parmesan breadsticks: These breadsticks are flavored with Parmesan cheese, and they are often served as an appetizer.
Whole wheat breadsticks: These breadsticks are made with whole wheat flour, and they are a healthier option than traditional breadsticks.
Sesame breadsticks: These breadsticks are flavored with sesame seeds, and they have a slightly nutty flavor.
How to Serve Breadsticks
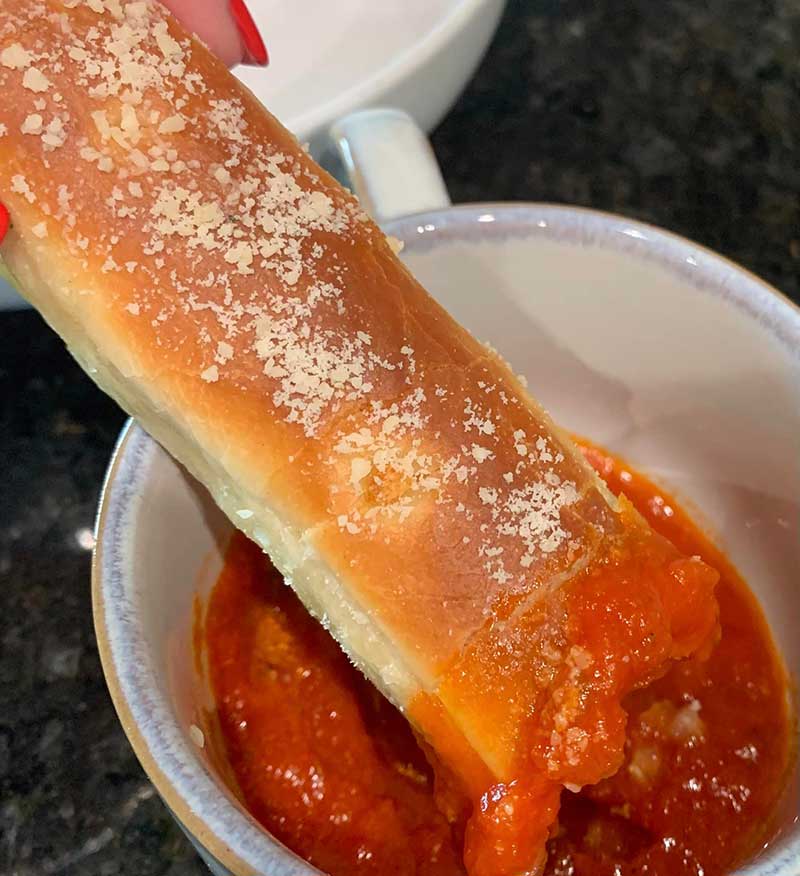
Breadsticks can be served in a variety of ways. They can be served as an appetizer, a side dish, or even a snack. They are also a popular choice for dipping in sauces, such as marinara sauce or pesto sauce.
Tips for Making Soft Breadsticks
Use warm water when proofing the yeast. This will help the yeast activate and give the breadsticks a better texture.
Don’t overwork the dough when kneading. Overworking the dough will make the breadsticks tough.
Let the breadsticks rise in a warm place. This will help them rise to their full potential.
Bake the breadsticks until they are golden brown. This will ensure that they are cooked through.
Garlic breadsticks are a delicious and versatile food that can be enjoyed in a variety of ways. They are easy to make, and they are a good source of nutrients.
So next time you’re looking for a delicious and easy snack or appetizer, be sure to try making soft breadsticks. They’re sure to become a new favorite!
Printable Recipe
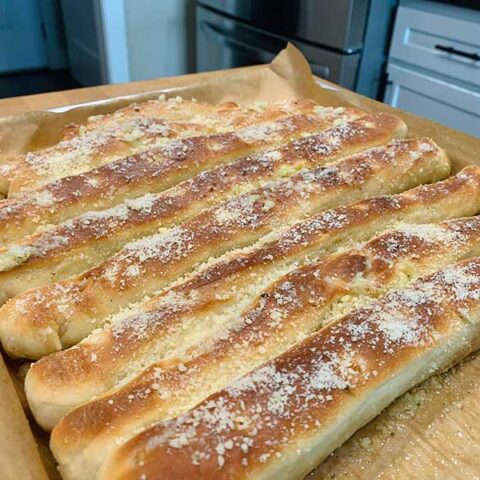
Cheesy Garlic Bread Sticks
They’re delicious, they’re versatile, and they’re easy to make. And with this easy recipe, you can make them at home in no time!
Ingredients
- 1 cup warm water (105°F to 115°F)
- 1 package active dry yeast (2 1/4 teaspoons)
- 2 tablespoons sugar
- 1 teaspoon salt
- 2 tablespoons olive oil, plus more for brushing on the breadsticks
- 3 cups all-purpose flour, plus more for dusting
- 1/4 cup melted butter
- 1 teaspoon garlic powder
Instructions
- In a large bowl, combine the warm water, yeast, and sugar. Let stand for 5 minutes, or until the yeast is foamy.
- Stir in the salt, olive oil, and 2 cups of the flour. Stir until a dough forms.
- Turn the dough out onto a lightly floured surface and knead for 5-7 minutes, or until the dough is smooth and elastic.
- Place the dough in a greased bowl, cover with plastic wrap, and let rise in a warm place for 1 hour, or until doubled in size.
- Preheat the oven to 375°F.
- Punch down the dough and divide it in half.
- Roll out each half of the dough into a 12-inch long rope.
- Cut each rope into 1-inch pieces.
- Place the breadsticks on a baking sheet lined with parchment paper.
- Brush the breadsticks with olive oil and sprinkle with the garlic powder.
- Bake for 15-20 minutes, or until golden brown.
- Serve warm.
Notes
- For a more flavorful breadstick, use garlic infused olive oil.
- If you don't have parchment paper, you can grease the baking sheet.
- You can add other toppings to the breadsticks, such as Parmesan cheese, sesame seeds, or poppy seeds.
- The breadsticks can be made ahead of time and baked later. Just cover them and refrigerate them for up to 24 hours before baking.
If you enjoyed this recipe, please share it on your social media! I would love for more people to try this delicious and easy-to-make dessert. If you have any questions or feedback, please feel free to leave a comment below. I would love to hear from you! Shhh… Join our secret foodie group on Facebook.
More recipes from us:

Easy Christmas Cheesecake
Delicious Kentucky Sawdust Pie
Christmas Cranberry Vodka Slush


