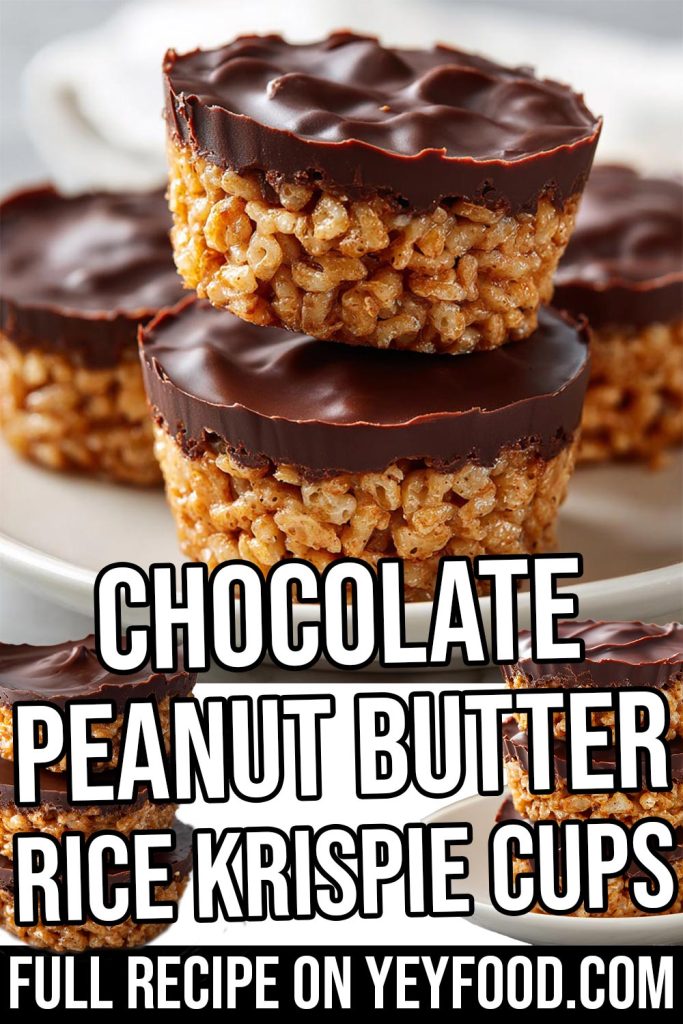
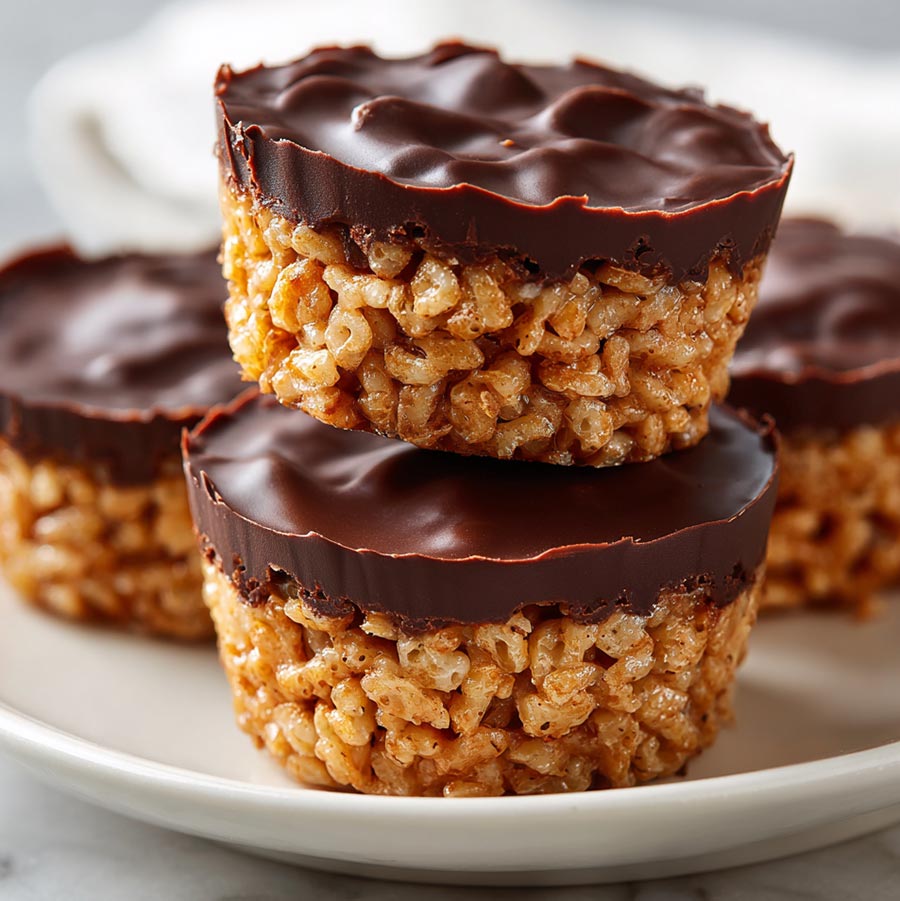
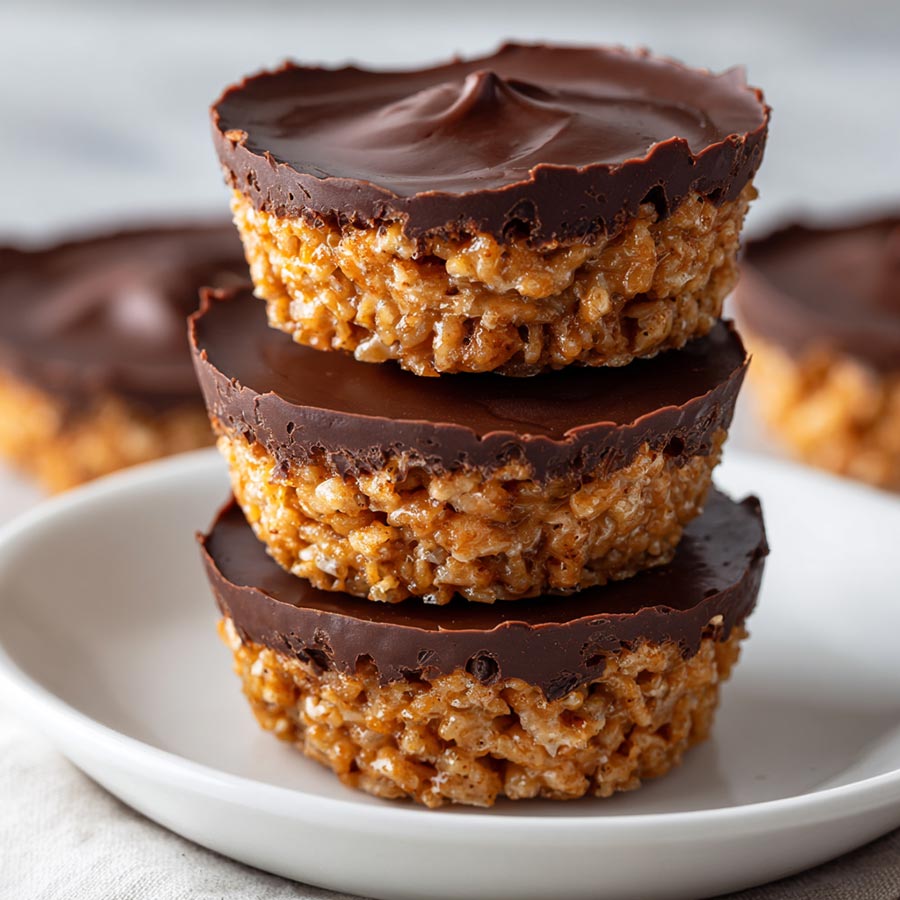
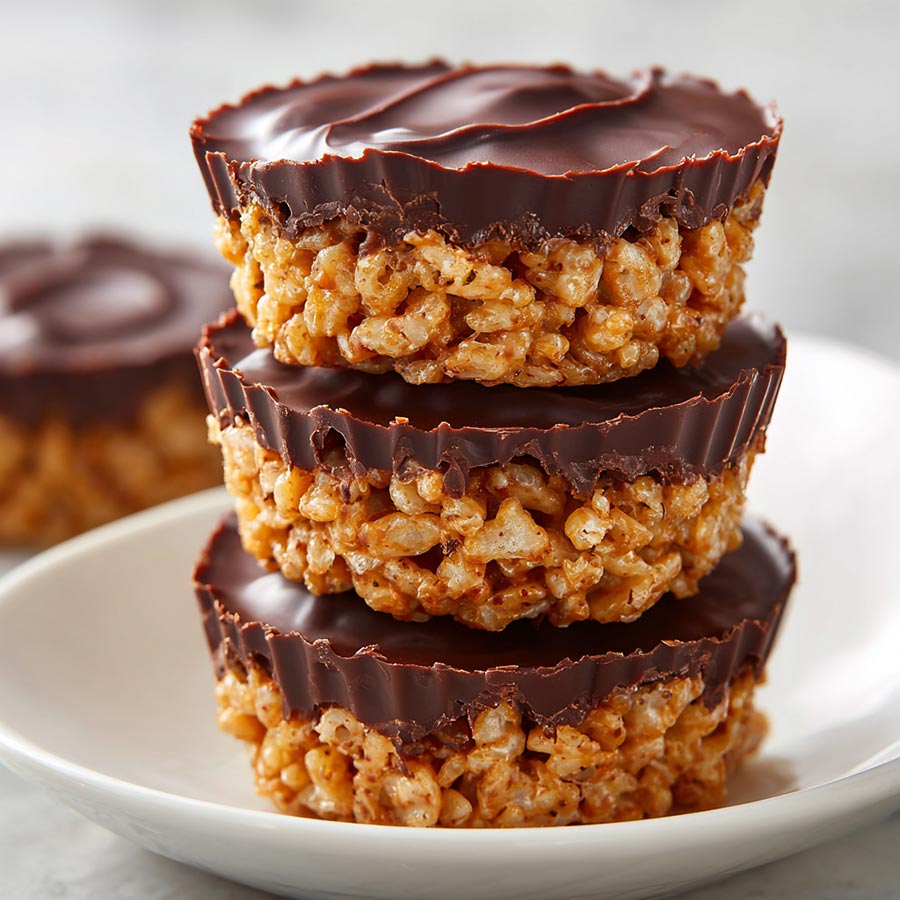
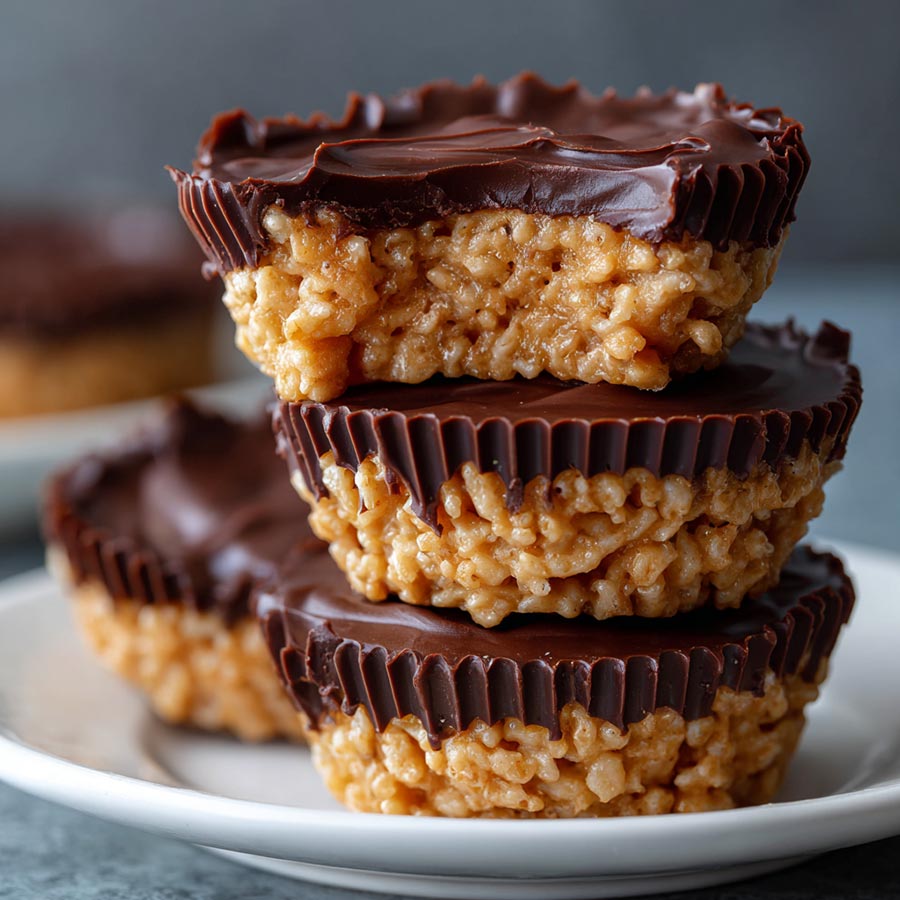
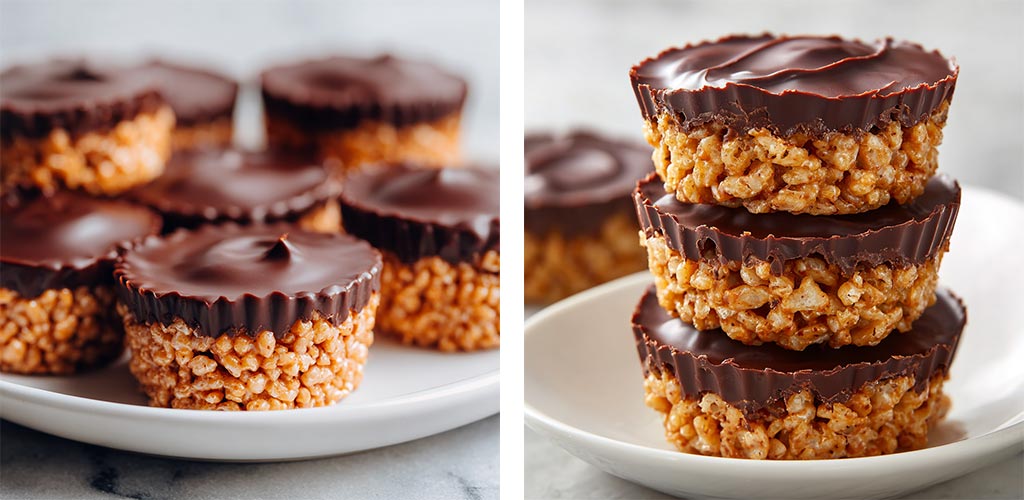
Chocolate Peanut Butter Rice Krispie Cups
Some recipes just sneak their way into your weekly rotation without you even realizing it. This Chocolate Peanut Butter Rice Krispie Cups recipe is one of those in my home. The first time I made these, it was on a rainy afternoon when the kids were restless, and I wanted something sweet that wouldn’t have me in the kitchen for hours. I remembered my love for those classic Rice Krispie treats from childhood but decided to give them a richer, more indulgent twist with peanut butter and a smooth chocolate topping.
What I love most is how these little cups strike the perfect balance between crispy, chewy, and creamy. The peanut butter adds that salty-sweet depth, the honey brings a natural, mellow sweetness, and the chocolate layer ties everything together in the most satisfying way. Plus, the fact that they’re made in muffin tins means everyone gets their own perfectly portioned treat, no uneven cutting or sticky squares falling apart.
When I served them to my family that first day, I barely had time to pour myself a coffee before the first batch disappeared. My husband immediately asked when I’d make them again, and my kids have since nicknamed them “cupfuls of joy.”
They’ve become a go-to not just for after-school snacks but also for potlucks, bake sales, and even those nights when you just need a little something sweet after dinner. If you’ve been looking for a dessert that’s quick, delicious, and guaranteed to make everyone smile, this is it.
Questions I Often Get Asked About This Recipe
Can I use smooth peanut butter instead of chunky?
Absolutely. Smooth peanut butter will give you a creamier texture, while chunky adds a little extra crunch.
Do these need to be refrigerated?
It’s best to store them in the fridge so the chocolate stays firm, but let them sit at room temperature for a few minutes before eating for the perfect bite.
Can I swap the honey for another sweetener?
Yes! Maple syrup or light corn syrup works well, though the flavor will vary slightly.
What if I don’t have muffin tins?
You can press the mixture into a lined 8×8-inch baking pan and cut into squares once set.
Can these be made dairy-free?
Yes, just use dairy-free chocolate chips and check that your peanut butter is free from dairy additives.
What You Need to Make Chocolate Peanut Butter Rice Krispie Cups

3 cups Rice Krispies cereal
1 ½ cups chocolate chips
1 cup chunky peanut butter
6 tablespoons honey
Special Tools:
Muffin tin
Muffin liners
Heatproof mixing bowl
Small saucepan
How to Make Chocolate Peanut Butter Rice Krispie Cups
Line a muffin tin with paper liners and set aside.
In a small saucepan over low heat, combine peanut butter and honey. Stir until melted and fully combined.
Remove from heat and pour the mixture over the Rice Krispies cereal in a large bowl. Stir until evenly coated.
Spoon the mixture into the muffin liners, pressing down gently to compact them.
In a heatproof bowl, melt the chocolate chips in the microwave in 20-30 second intervals, stirring between each, until smooth.
Spoon the melted chocolate over each peanut butter Rice Krispie cup, spreading to cover the tops evenly.
Place the muffin tin in the refrigerator for about 30 minutes or until the chocolate is set.
Remove from the fridge, peel off the liners, and enjoy!
Tips for Making the Best Chocolate Peanut Butter Rice Krispie Cups
Use fresh Rice Krispies so they stay crisp and don’t turn soggy.
Don’t overheat the peanut butter and honey. Low heat keeps the mixture smooth and prevents burning.
For extra flavor, add a pinch of sea salt to the chocolate before spreading it on top.
Make them festive by sprinkling chopped nuts or colored sprinkles over the chocolate before it sets.
Store in an airtight container in the fridge for up to a week, or freeze for up to a month.
Reader Reviews
⭐️⭐️⭐️⭐️⭐️ “Perfect quick treat! My kids devoured these in one afternoon. Definitely making again.” – Sarah T.
⭐️⭐️⭐️⭐️ “Loved the flavor combo. Next time I’ll use smooth peanut butter for a softer texture.” – Mark R.
⭐️⭐️⭐️⭐️⭐️ “Made these for a bake sale and they sold out in minutes! Everyone wanted the recipe.” – Julie K.
⭐️⭐️⭐️⭐️ “Really tasty, but I prefer a thinner chocolate layer. I will adjust next time.” – Hannah M.
⭐️⭐️⭐️⭐️⭐️ “So easy and so delicious. The honey gives them a nice sweetness without being too much.” – Claire P.
Printable Recipe
Before you print the recipe, could I ask you a favor? Please consider sharing this recipe on Facebook or pin to a group on Pinterest? This would really help us out. Thank you so much <3

Chocolate Peanut Butter Rice Krispie Cups
These Chocolate Peanut Butter Rice Krispie Cups are the ultimate no-bake treat—crispy, chewy, and topped with a rich layer of chocolate. Made with just four ingredients, they’re quick, delicious, and perfect for busy moms who want something sweet without spending hours in the kitchen. Great for snacks, bake sales, or a little post-dinner indulgence.
Ingredients
- 3 cups Rice Krispies cereal
- 1 ½ cups chocolate chips
- 1 cup chunky peanut butter
- 6 tablespoons honey
- Special Tools:
- Muffin tin
- Muffin liners
- Heatproof mixing bowl
- Small saucepan
Instructions
- Line a muffin tin with paper liners and set aside.
- In a small saucepan over low heat, combine peanut butter and honey. Stir until melted and fully combined.
- Remove from heat and pour the mixture over the Rice Krispies cereal in a large bowl. Stir until evenly coated.
- Spoon the mixture into the muffin liners, pressing down gently to compact them.
- In a heatproof bowl, melt the chocolate chips in the microwave in 20–30 second intervals, stirring between each, until smooth.
- Spoon the melted chocolate over each peanut butter Rice Krispie cup, spreading to cover the tops evenly.
- Place the muffin tin in the refrigerator for about 30 minutes or until the chocolate is set.
- Remove from the fridge, peel off the liners, and enjoy!
If you enjoyed this recipe, please share it on your social media! I would love for more people to try this delicious and easy-to-make recipe. If you have any questions or feedback, please feel free to leave a comment below. I would love to hear from you! Shhh… Join our secret foodie group on Facebook
Rhubarb Meringue Pie
Tangy Lemon Tartlets
Strawberry Oatmeal Bars