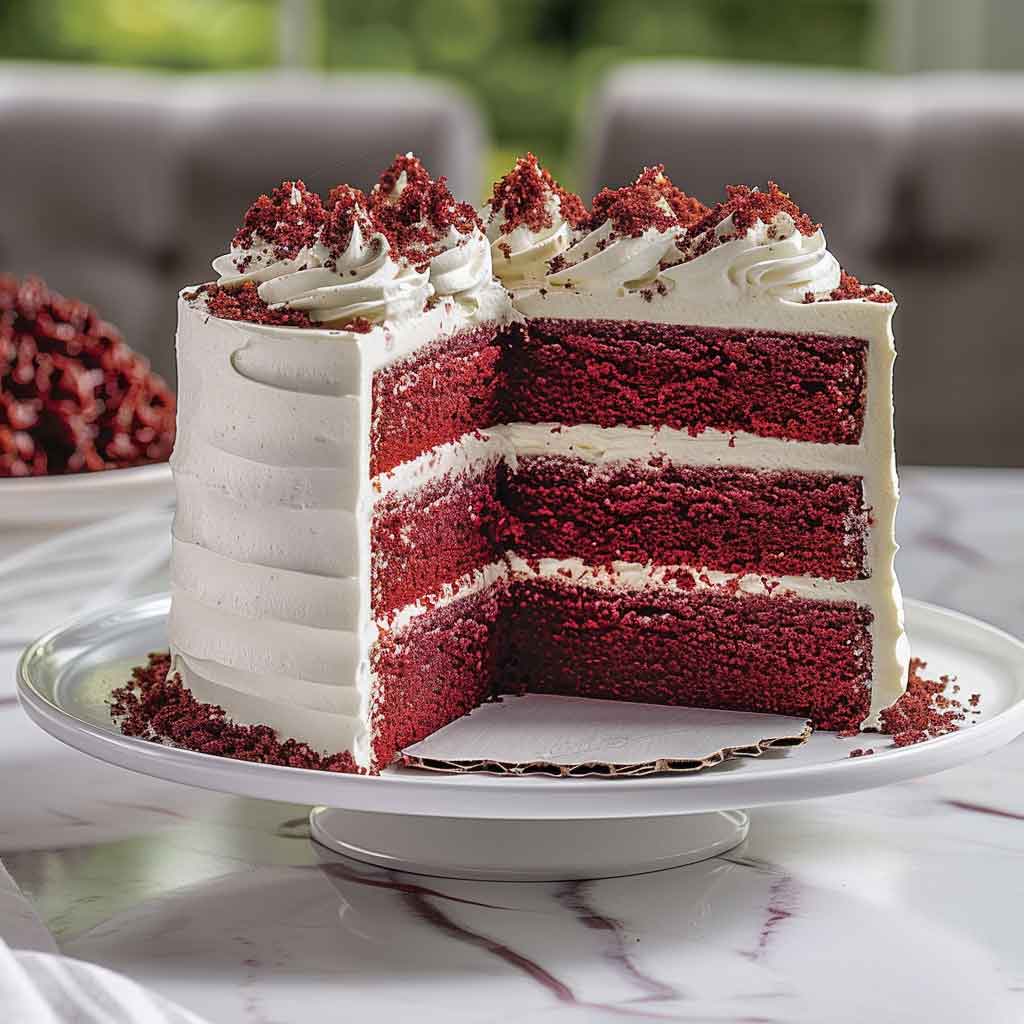
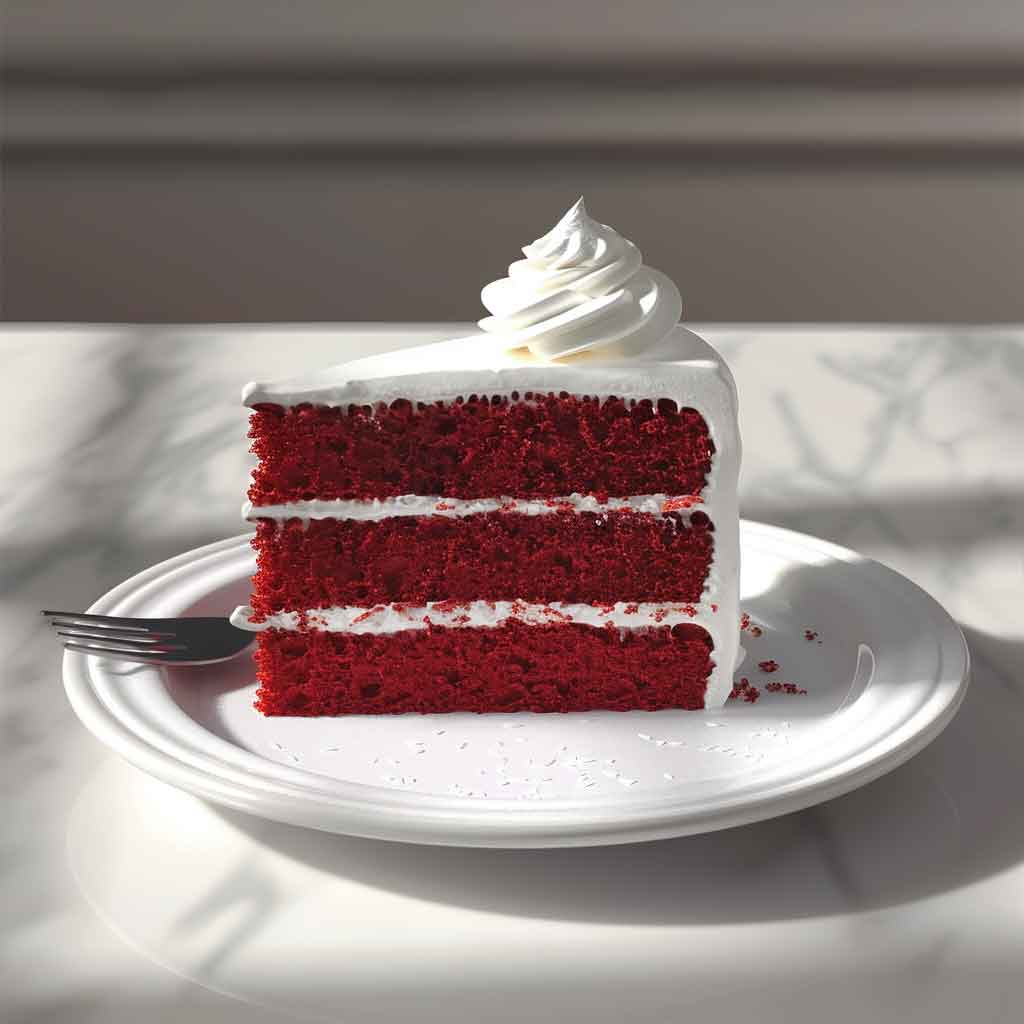
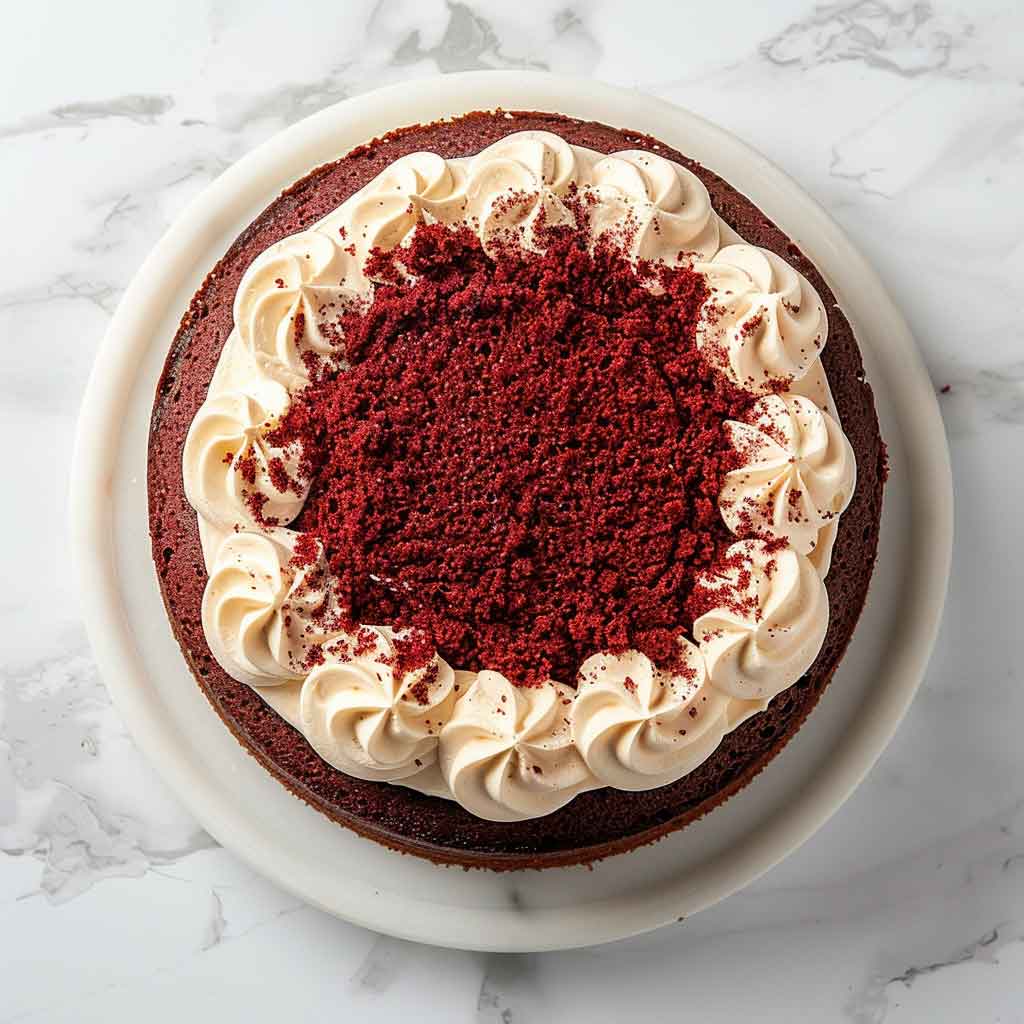
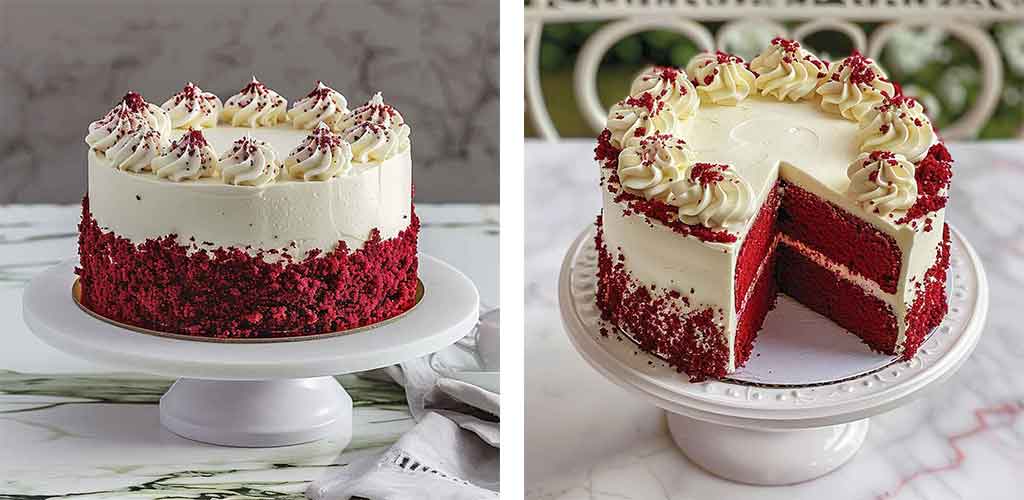
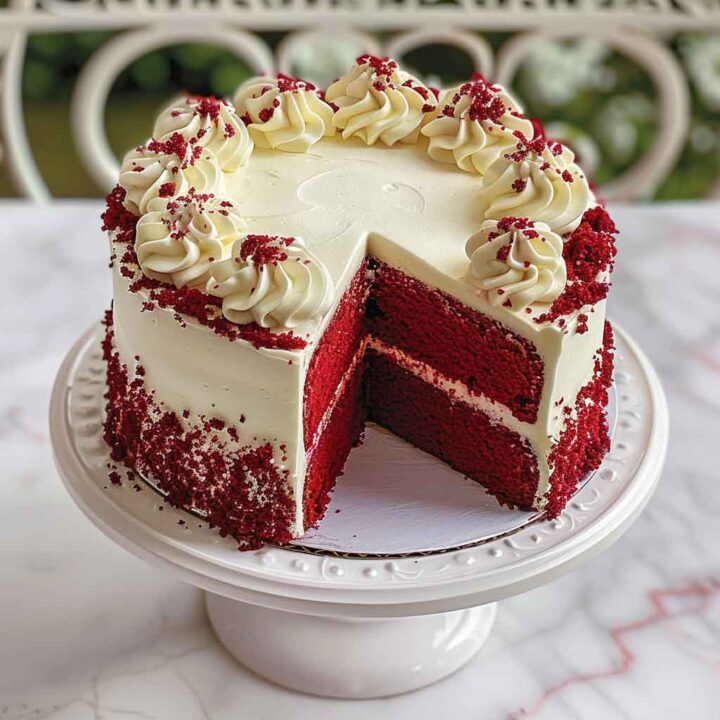
Red Velvet Cake

Red Velvet Cake, with its vibrant red hue and rich cocoa flavor, has long been a favorite indulgence for cake lovers worldwide. Its velvety texture and delicious cream cheese frosting make it a standout dessert for any occasion, from birthdays to weddings to Valentine’s Day.
We’ll delve into the history of Red Velvet Cake, provide a detailed recipe with step-by-step instructions, address some frequently asked questions, offer valuable tips for success, and share reviews from those who have savored this decadent treat.
Red Velvet Cake continues to captivate dessert lovers with its timeless appeal and irresistible flavor profile. Whether you’re baking it for a birthday celebration, a holiday gathering, or simply to satisfy a sweet craving, this classic recipe is sure to impress. With a little care and attention to detail, you can create your own masterpiece and delight friends and family with each decadent slice.
Questions I often get asked about this recipe:
Can I use natural food coloring instead of artificial red food coloring?
Yes, you can use natural alternatives like beetroot powder or pureed raspberries to achieve a red hue in your cake batter.
Can I make this cake ahead of time and freeze it?
Absolutely! Red Velvet Cake freezes well. Wrap the cooled cake layers tightly in plastic wrap and aluminum foil before freezing. Thaw them in the refrigerator overnight before frosting and serving.
Can I substitute buttermilk with regular milk or a milk alternative?
While buttermilk contributes to the tangy flavor and tender texture of Red Velvet Cake, you can substitute it with a mixture of regular milk and vinegar or lemon juice in a pinch.
How should I store leftover Red Velvet Cake?
Store leftover cake in an airtight container in the refrigerator for up to 3-4 days. Bring it to room temperature before serving for the best taste and texture.
What you need to make Red Velvet Cake:

Ingredients:
2 1/2 cups all-purpose flour
1 1/2 cups granulated sugar
1 teaspoon baking soda
1 teaspoon salt
1 teaspoon cocoa powder
1 1/2 cups vegetable oil
1 cup buttermilk, room temperature
2 large eggs
2 tablespoons red food coloring
1 teaspoon vanilla extract
1 teaspoon white distilled vinegar
How to make it:
Instructions:
Preheat your oven to 350°F (175°C). Grease and flour two 9-inch round cake pans.
In a large bowl, sift together the flour, sugar, baking soda, salt, and cocoa powder.
In a separate bowl, combine the vegetable oil, buttermilk, eggs, red food coloring, vanilla extract, and vinegar.
Gradually add the wet ingredients to the dry ingredients, mixing until smooth and well combined.
Divide the batter evenly between the prepared cake pans.
Bake for 25-30 minutes, or until a toothpick inserted into the center of the cakes comes out clean.
Remove the cakes from the oven and allow them to cool in the pans for 10 minutes before transferring them to a wire rack to cool completely.
Tips:
Room Temperature Ingredients:
Ensure that your buttermilk and eggs are at room temperature before incorporating them into the batter. This promotes even mixing and better texture in the finished cake.
Sift Dry Ingredients:
Sifting the flour, sugar, cocoa powder, and other dry ingredients together helps aerate the mixture and prevents lumps in the batter.
Avoid Overmixing:
Once you’ve combined the wet and dry ingredients, mix just until they are fully incorporated. Overmixing can result in a dense or tough cake.
Cool Completely Before Frosting:
Allow your cake layers to cool completely before frosting to prevent the frosting from melting and sliding off the cake.
Latest Reviews:
Kayleigh: “This recipe was a hit at my friend’s birthday party! The cake turned out incredibly moist, and the cream cheese frosting was the perfect balance of sweetness and tanginess.”
Greg: “As someone who’s not usually a fan of overly sweet desserts, I was pleasantly surprised by how much I enjoyed this Red Velvet Cake. The flavors were well-balanced, and the texture was superb.”
Louise: “I made this cake for Valentine’s Day, and it was a showstopper! The rich red color was stunning, and the taste was simply divine. It’s definitely going into my repertoire of go-to recipes.”
Josh: “I followed this recipe exactly, and the result was a flawless Red Velvet Cake that received rave reviews from my family. It’s now become a requested favorite for special occasions.”
Printable Recipe:
Red Velvet Cake
Ingredients
- 2 1/2 cups all-purpose flour
- 1 1/2 cups granulated sugar
- 1 teaspoon baking soda
- 1 teaspoon salt
- 1 teaspoon cocoa powder
- 1 1/2 cups vegetable oil
- 1 cup buttermilk, room temperature
- 2 large eggs
- 2 tablespoons red food coloring
- 1 teaspoon vanilla extract
- 1 teaspoon white distilled vinegar
Instructions
- Preheat your oven to 350°F (175°C). Grease and flour two 9-inch round cake pans.
- In a large bowl, sift together the flour, sugar, baking soda, salt, and cocoa powder.
- In a separate bowl, combine the vegetable oil, buttermilk, eggs, red food coloring, vanilla extract, and vinegar.
- Gradually add the wet ingredients to the dry ingredients, mixing until smooth and well combined.
- Divide the batter evenly between the prepared cake pans.
- Bake for 25-30 minutes, or until a toothpick inserted into the center of the cakes comes out clean.
- Remove the cakes from the oven and allow them to cool in the pans for 10 minutes before transferring them to a wire rack to cool completely.
If you enjoyed this recipe, please share it on your social media! I would love for more people to try this delicious and easy-to-make recipe. If you have any questions or feedback, please feel free to leave a comment below. I would love to hear from you! Shhh… Join our secret foodie group on Facebook
More recipes from us:

Make Glazed Iowa Ham Balls The Best Farm Food Ever
Sourdough Discard Cinnamon Rolls
Coconut Cherry Magic Bars