How You Can Be A Pickle Packin’ Mama
Refrigerator pickles are so easy you can make a batch while you prepare dinner or cleaning up. They are simply beautiful, too, and I have to admit that’s one of the things that inspired me to make some.
Well, and my crisper drawer was about to overflow with my enthusiastic purchases at the farmer’s market. It’s true, we eat loads of vegetables all summer long, but when baseball games or a supper invitation (or in this case, a little getaway) disrupts my cooking routine, they stack up.
Since you can make a jar or two at a time, this is a perfect way to make great use of veggies in their prime before they languish in the fridge and get all sad and wilty. These are great for snacking, garnishing, and holy mackerel; what great color refrigerator pickles can add to a charcuterie board!
Here’s Why Anything Goes When You Make These Quick and Easy Pickles
Any vegetable can be quick-pickled in this manner! Onions, carrots, any color of peppers, broccoli, cauliflower, celery, green beans, garlic, cabbage, beets, asparagus, you name it! My inner artist/cook craves beauty in whatever I create, so I chose vegetables with lots of color and contrast.
There’s no exact science to this process. Start by cutting the vegetables you want to pickle into smaller pieces so the brine can penetrate each piece and give it the flavors you want in a pickled vegetable.
I rounded up a couple of attractive food storage jars with seals since I was not going to heat process this batch of pickles. I liked the shape and sizes available. The one pictured here has a capacity of 67-ounce ounces, a wee bit over two quarts. I picked up a smaller one, too. It holds a smidge more than a quart. I’ll use it to make a jarful for a gift.
Your Favorite Veggies Perfectly Pickled While You Keep Your Cool
For this recipe, you start with raw veggies; you do not need to blanch the vegetables. I began by cutting two very large carrots into sticks using my crinkle cutter. Next, I separated about half a head of cauliflower, cut in florets, and did the same with a bunch of broccoli.
I had a strangely shaped green pepper that was beginning to turn red. I seeded the whole thing and cut it into strips. I swear it looked like the love child of a pepper and a toucan. Right? You see a toucan, don’t you?
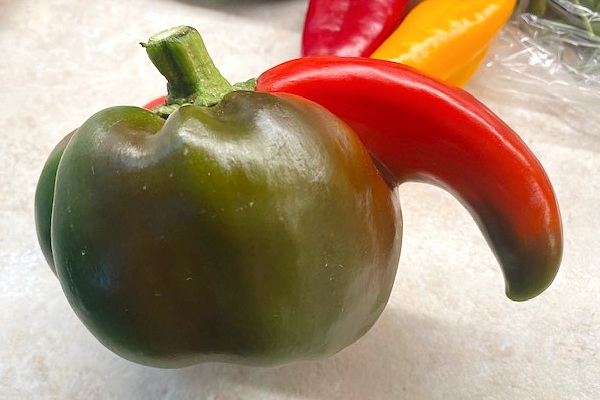
I had purchased some cute sweet peppers, and I seeded split them in two lengthwise. Finally, I peeled three large cloves of garlic and snipped several heads of dill in various sizes.
Looking back, I wonder where my head was when I failed to add some slices of sweet onion! They would have been so delicious on a burger! Next time, I won’t forget!
It’s Time To Pack The Pickles Let’s Start Filling Up The Colorful Jar
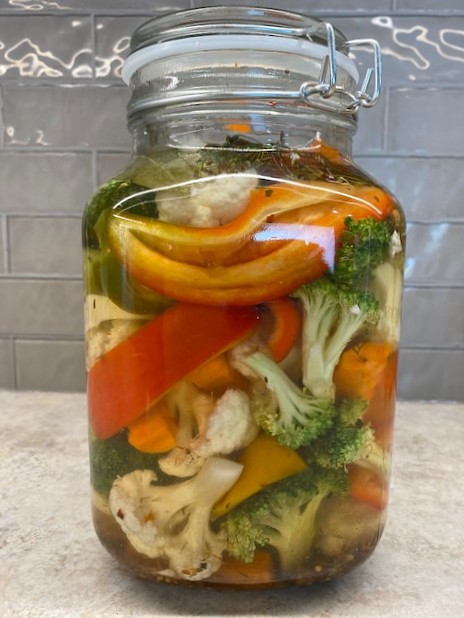
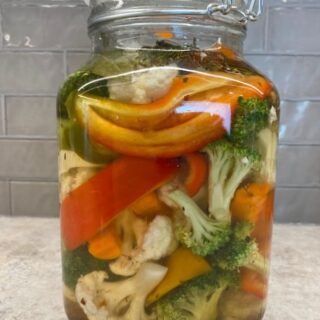
I put the garlic, black peppercorns, and about a tablespoon of pickling spices in the bottom of the jar. (I was keeping things very simple for my first try!) Next, I began to pack the jar with veggies. I tried to distribute the colors to make it look pretty. As it got close to being full, I slid pepper strips in the skinny spots and tucked in the dill. The dill heads are so cute and cooperative and obligingly folded up like little umbrellas as I tucked them into place.

While I was packing the jar, I put the brine on the stove. The amount of brine I’d need was a little bit of guesswork, but I followed a recipe for two quarts of refrigerator pickles. It will depend on how tightly the jar is packed. I used two cups of water and two and one-half cups of white vinegar along with two tablespoons of kosher salt, a scant 1/4 cup of sugar, and a few flakes of red pepper.
I brought the mixture to a boil long enough for the salt and sugar to dissolve. Then I used a canning funnel to carefully pour the boiling hot brine over the contents of the jar. The vegetables need to be completely submerged and if they are not, use a wooden spoon to push the veggies down into the brine. If that doesn’t do it, mix up a little more vinegar and water and add it to the jar but leave about 1/2 inch of space between the contents and the lid.
Let the jar sit on the countertop for an hour or two. The contents should be at room temperature before you put the jar in the fridge. The pickled veggies will develop more flavor as they sit in the refrigerator. They will keep well in the refrigerator for three weeks or more, but ensure the vegetables stay submerged in the pickling brine and keep them refrigerator pickles, they are not shelf-stable.
Headline: We have been away from home for about a week. Tonight I taste-tested some cauliflower and yellow pepper. Yummy!! Perfectly crunchy and flavorful!
Feel Free To Personalize Your Refrigerator Pickles And Make Them Your Way
Here are some things you can add to make the perfect flavor to tickle your palate!
- Fresh herbs like oregano, thyme, marjoram work well in any combination with or without dill.
- Dried herbs work well, too. Usually you need less of a dried herb than a fresh one.
- Experiment with fresh ginger, peeled and sliced paper-thin.
- Whole spices like dill or mustard seed, coriander, or peppercorns.
- Ground spices can also be added. Try turmeric or smoked paprika for color and more flavor.
- Smash or slice the garlic cloves to make the flavor more pronounced.
If that’s not enough to shake up the “snackus-quo,” you can substitute any vinegar that suits your fancy. Apple cider, rice, red wine, or tarragon vinegar are just a few to try. And you can increase or decrease the amount of salt or sugar until you get it Goldilocks’ “just right.”
Anything Goes Refrigerator Pickles
Quick and easy refrigerator pickles using nearly any fresh, crisp garden vegetable in a customizable brine.
Ingredients
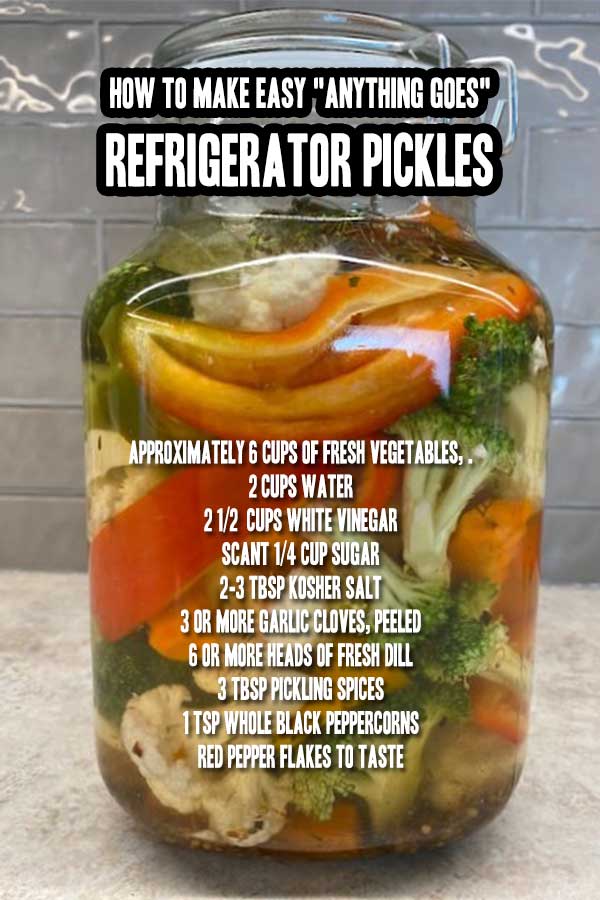
- Approximately 6 cups of fresh vegetables, cut into bite size pieces.
- 2 cups water
- 2 1/2 cups white vinegar
- Scant 1/4 cup sugar
- 2-3 Tbsp kosher salt
- 3 or more garlic cloves, peeled
- 6 or more heads of fresh dill
- 3 Tbsp pickling spices
- 1 tsp whole black peppercorns
- red pepper flakes to taste
Instructions
- Wash and seed vegetables and cut them into bite-size pieces.
- Put garlic and peppercorns in the bottom of the jar.
- Pack vegetables tightly into the jar.
- Add the pickling spices.
- Bring the vinegar, water, sugar, and salt to a boil long enough to completely dissolve the sugar and salt.
- Use a canning funnel to pour the boiling hot brine carefully over the vegetables. Make sure all the vegetables are fully submerged in the brine.
- If there is not enough brine to cover the vegetables, push the veggies down into the brine with a wooden spoon.
- If that doesn't cover them, mix a little more vinegar and water together and add that to the jar.
- Leave 1/2 inch of headspace between veggies and the jar lid.
- Let pickles sit on the counter until the jar has cooled to room temperature.
- Refrigerate for up to 3 weeks. The flavor will intensify the longer the veggies sit in the brine.
- These are not shelf-stable and will need to be refrigerated at all times.
- See the accompanying post for all the ways you can customize these pickles to create the flavor profile you want!
Nutrition Information:
Yield: 20 Serving Size: 1Amount Per Serving: Calories: 53Total Fat: 0gSaturated Fat: 0gTrans Fat: 0gUnsaturated Fat: 0gCholesterol: 0mgSodium: 1153mgCarbohydrates: 10gFiber: 3gSugar: 4gProtein: 2g
I sure hope you try making some pickles using the abundance of produce that happens every summer. Have fun changing up the ingredients to make them lip-smackingly good for you and your family!
More recipes from us

4 Reasons You Should Freeze Some Sweet Corn This Summer
How To Make The White BBQ Sauce That’s Fascinated Us Since 1925
Dilly Pickled Green Beans You Make In Your Refrigerator
If you like these recipes, you are our people! You can check some related articles below or search via categories on the right. But, be warned; you will be on here for hours. Enjoy!
So, please share this recipe on your social media accounts like Facebook, Instagram, Twitter, and Pinterest. We would be honored and ever so grateful; thank you!