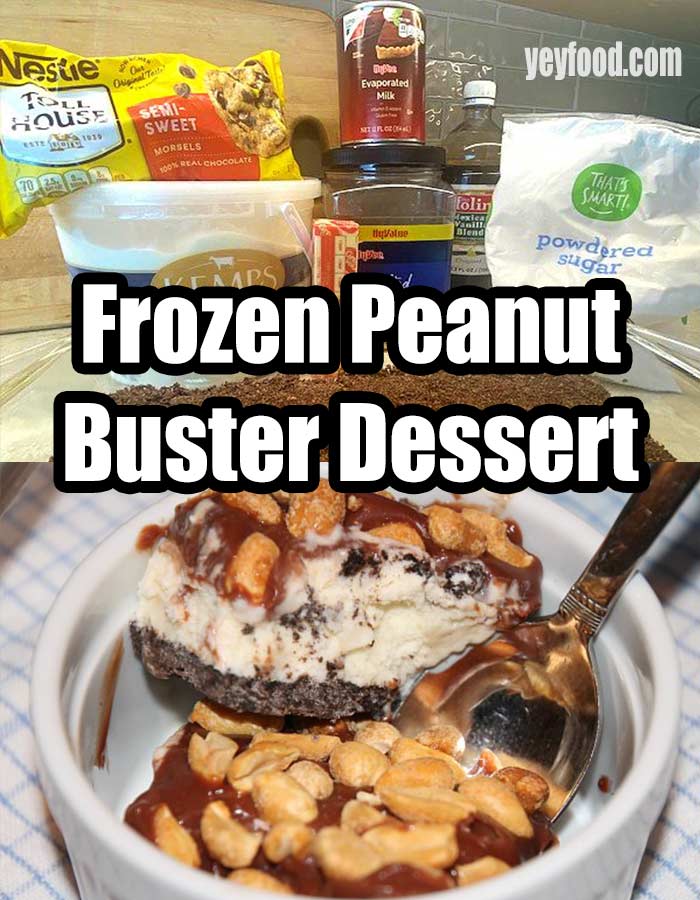
Peanut Buster Dessert Recipe
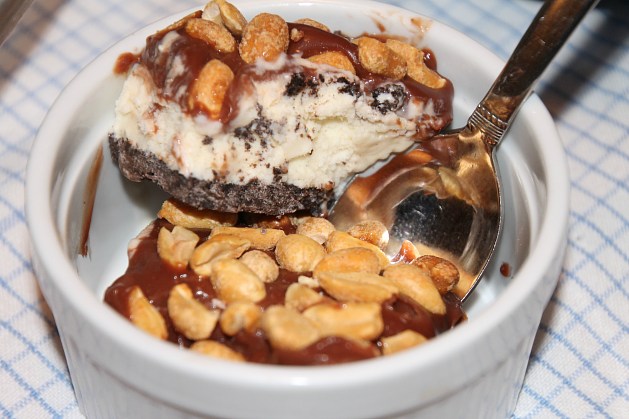
This peanut buster dessert is absolutely amazing! If I got a good report card in junior high, I would walk over to the Blue Bell dairy after school and celebrate with a peanut buster before I even showed my grades to my mom and dad! Peanut busters bring back such happy memories for me!
Years later, I married my high school beau and found out his mom took no joy in cooking by her admission! Cooking was simply a chore; despite that, she did a great job of keeping them fed.
She adored her boys and loved spoiling them with special treats. It turns out my father-in-law loved peanut busters, too, and this recipe is from her somewhat skimpy recipe box!! This grainy photo is from the early fifties, and that cute little cowboy is my husband, “Papa” Steve.

When I decided to share this favorite old recipe, I researched peanut busters and discovered that Dairy Queen supposedly “invented” them in 1971! Surely, peanut busters were around before that? I started to doubt my math and memory, so I contacted my old friend Candi from school.
Candi is a truly remarkable wealth of information on the history of our hometown, and she has a memory like a steel trap! (Unlike mine, which is more of a steel sieve!)
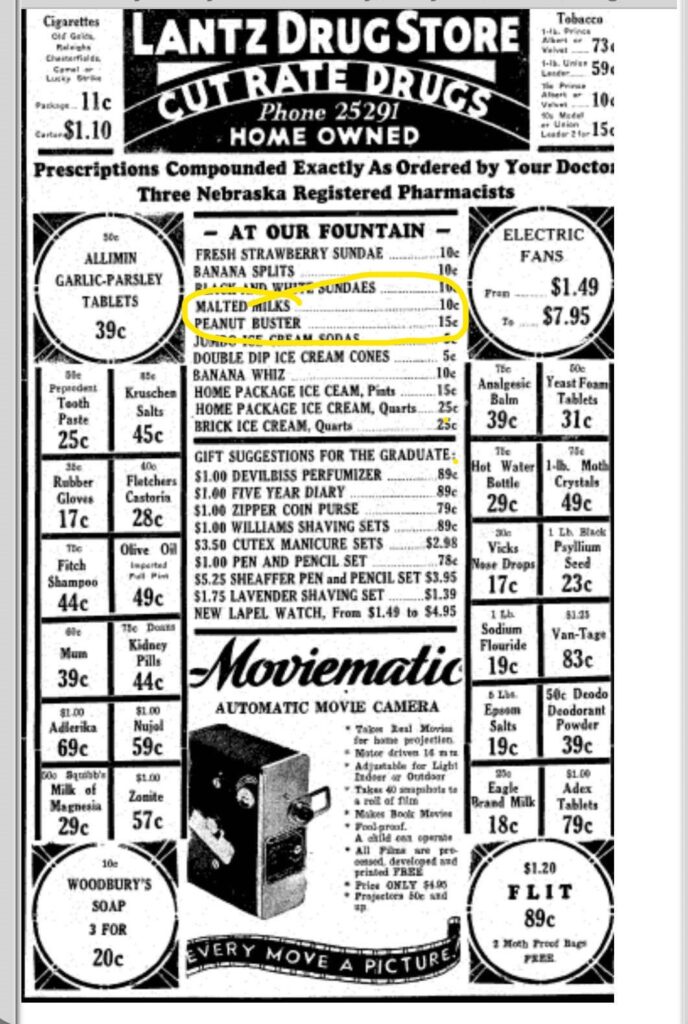
Candi scanned digital copies in the local newspaper’s archives and came up with a delightful ad from 1936 proving that peanut busters were around long before DQ was even founded in 1940. Take a look at these prices!
Why This Amazing Frozen Peanut Buster Dessert Beats DQ
There are legitimate reasons this dessert beats what you buy at your local Dairy Queen. Reason one is there’s no waiting in line! Most important, though, DQ soft serve can’t be called ice cream because the amount of butterfat is too low. Let’s hear it for butterfat! In this dessert, you can make it with rich premium ice cream, like Kemps, Ben and Jerry’s, Blue Bunny, or Häagen-Dazs.
It’s easy to make, even weeks ahead, and keep it in the freezer until you are ready to serve it. It cuts into tidy squares, and a pan can serve 16 people!
Here’s How You Make This Delightful Old-Fashioned Dessert
Begin by crushing a regular-size package of chocolate sandwich cookies. Melt 1/4 cup of butter, mix it with the cookie crumbs, press them into a 13″ by 9″ pan, and freeze until firm. A food processor makes this very easy, but you can also do it in a zipper food storage bag with a rolling pin.
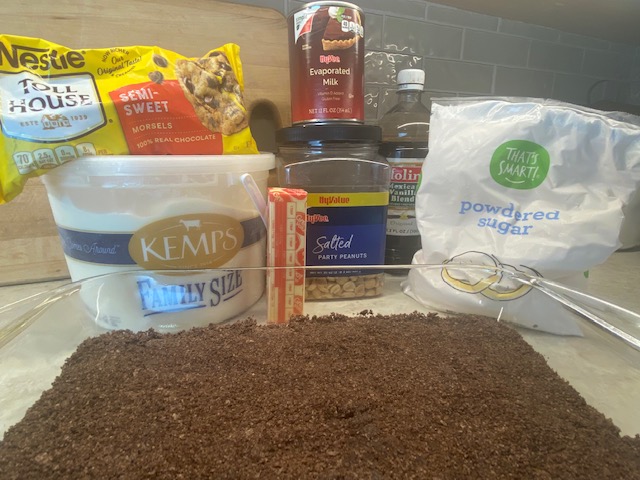
Next, scoop a half-gallon of vanilla ice cream onto the cookie crust and GENTLY spread it out to the edges. You need to work carefully and slowly when you do this, so you don’t pull up crumbs from the crust.
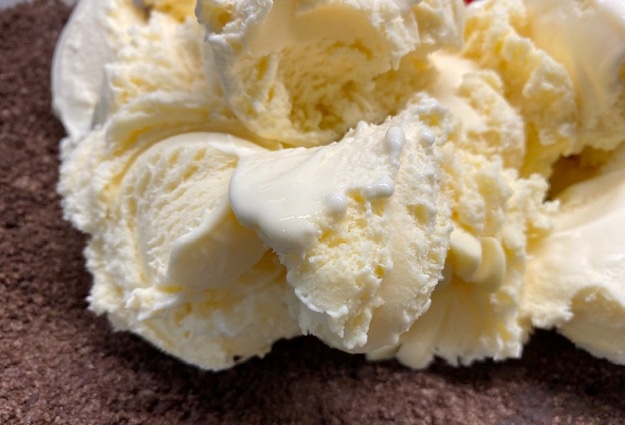
I found it easy to use my ice cream scoop with its nice smooth surface. The ice cream scoop I use has a liquid-filled handle that conducts heat from my hand into the scoop, so it cuts through hard ice cream easily and smooths out the ice cream quite nicely in this dessert. It cannot be put in the dishwasher, but that is no big deal!
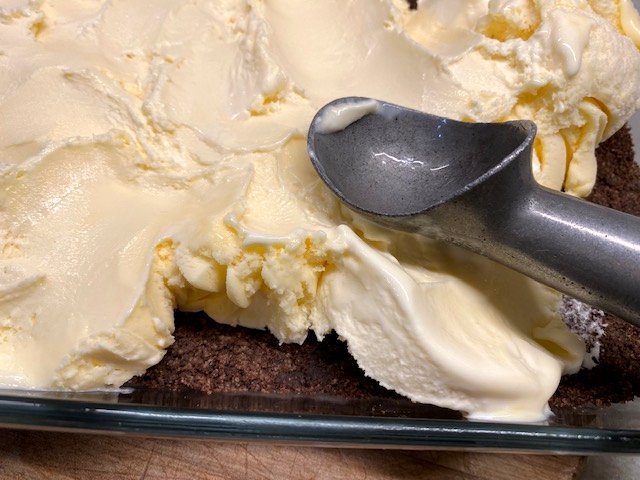
Now put the pan with the ice cream in the freezer and let it get frozen hard again!
To make the fudgy topping, melt the butter with the chocolate chips in a medium saucepan over low heat until it is well blended and the chips melt completely.
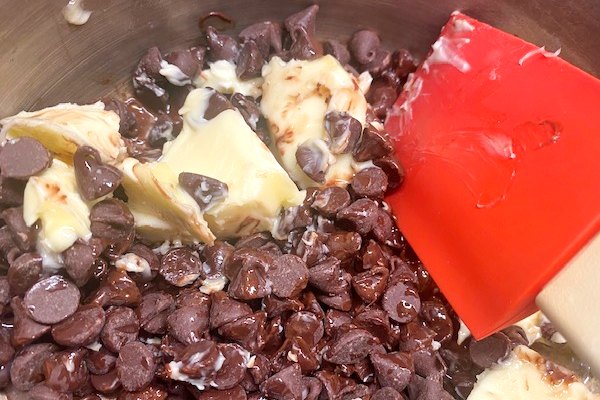
Add the evaporated milk and vanilla and whisk until the mixture is smooth. Then add the powdered sugar and whisk it until it dissolves completely. Turn heat up to medium and continue cooking, whisking until smooth. Bring to a boil and cook for 90 seconds, whisking constantly.
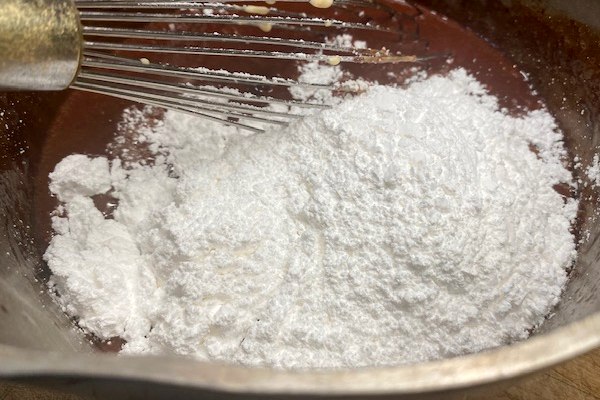
Remove from the heat and let it cool COMPLETELY. Did you hear that word completely? You can put the topping in the refrigerator to hurry the cooling process but don’t rush this step. The topping will thicken considerably as it cools.
If the topping is even a little bit warm, the top of the ice cream will melt and come up through the chocolate layer and look like this when I hurried (like usual.)
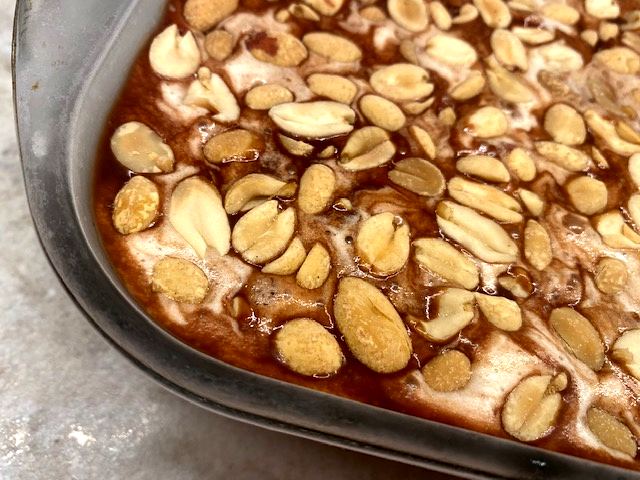
And not pretty like this, when my daughter took her time and let the topping cool completely. The topping will get nice and thick as it cools. Pour the cooled topping on the ice cream layer and add peanuts. We like our peanuts whole; chop them if you’d like it better that way.
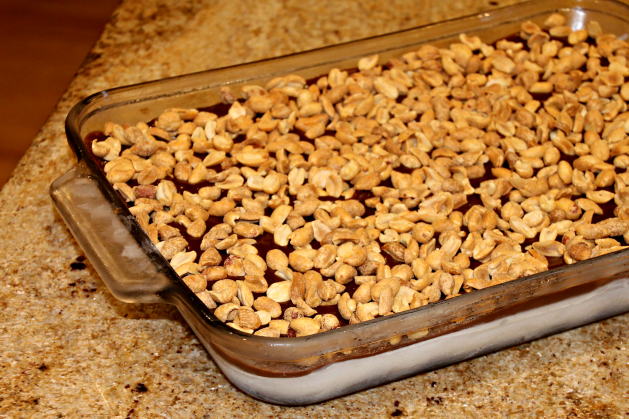
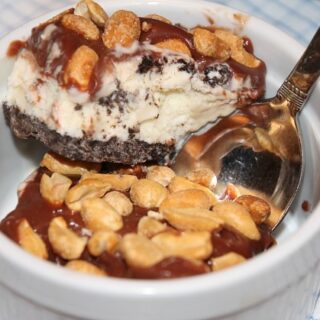
Frozen Peanut Buster Dessert
You will love this homemade version of the ever-popular peanut buster. Easy to make ahead and freeze for when you need it.
Ingredients
- One regular -size package of chocolate sandwich cookies, about 35- 40 cookies.
- 3/4 cup butter, divided
- 1/2 gallon vanilla ice cream
- 6 ounces of semi-sweet chocolate chips
- One 12-ouce can of eveaporated milk
- 1 tsp vanilla
- 2 cups of powdered sugar
- 1 1/2 cups salted peanuts.
Instructions
- Crush cookies and mix with 1/4 cup melted butter.
- Press the crumb mixture into a 13" by 9" pan and freeze until firm.
- Scoop softened ice cream onto cookie crust.
- Carefully spread the ice cream over the cookie crust, be careful not to pull up crumbs.
- Melt the chocolate chips with 1/2 cup butter in a saucepan on low heat until the chips melt completely.
- Add the evaporated milk and vanilla to the melted chocolate and whisk until smooth.
- Add powdered sugar to the chocolate mixture and increase heat to medium.
- Whisk until all the powdered sugar dissolves.
- Cook and bring the mixture to a boil for 90 seconds, whisking constantly.
- Cool the chocolate mixture COMPLETELY and pour over the ice cream layer.
- Add peanuts and freeze until firm.
We love ice cream desserts in the summer and any cool creamy dessert we can make ahead! Here are some of our favorites! Chocolate cream puff dessert, no-bake layered lemon dessert, light, and luscious pistachio dessert! What are some of your favorite summer desserts?
MORE YUMMY RECIPES FROM US

4 Reasons You Should Freeze Some Sweet Corn This Summer
How To Make The White BBQ Sauce That’s Fascinated Us Since 1925
German Sauerkraut Casserole With Bacon And Brown Sugar
If you like these recipes, you are our people! You can check some related articles below or search via categories on the right. But, be warned; you will be on here for hours. Enjoy!
So, please share this recipe on your social media accounts like Facebook, Instagram, Twitter, and Pinterest. We would be honored and ever so grateful; thank you!

