Easy Homemade Instant Pot Greek Yogurt

If you own an Instant Pot with a yogurt function, you should make some homemade Greek yogurt! Don’t miss out on yogurt bliss! The yogurt button takes you to Greek yogurt nirvana, and it’s super easy to do! There are so many ways to eat and use this creamy concoction, and it only takes TWO ingredients!
I ate mine with fresh peaches, a drizzle of local honey, and a sprinkle of nutmeg. Let me tell you, it was pure delight! You will save a lot of money when you make your own Greek yogurt, and you are in control of the process, so you know exactly what’s in it!
After making one batch, you use part of it to make the next one! Then, all you’ll need to buy is milk! The enjoyment goes on and on. Take a look at your Instant Pot, and if you have a yogurt button, you’re in for some fun.
Ingredients For Homemade Greek Yogurt
- Milk: Whole milk, regular or lactose-free. Low-fat milk works, but not as well. Goat’s milk is also an option!
- Starter: You can use purchased yogurt or yogurt you have saved from a previous batch!
- Sweeteners or flavorings, like vanilla, are optional.
It’s amazing just how simple it is to make yogurt at home. Whole milk makes the creamiest yogurt. You can use low-fat milk, which will not work as well. Like in the picture, lactose-free whole milk or even goat’s milk makes good yogurt! The only other ingredient you will need is a starter.
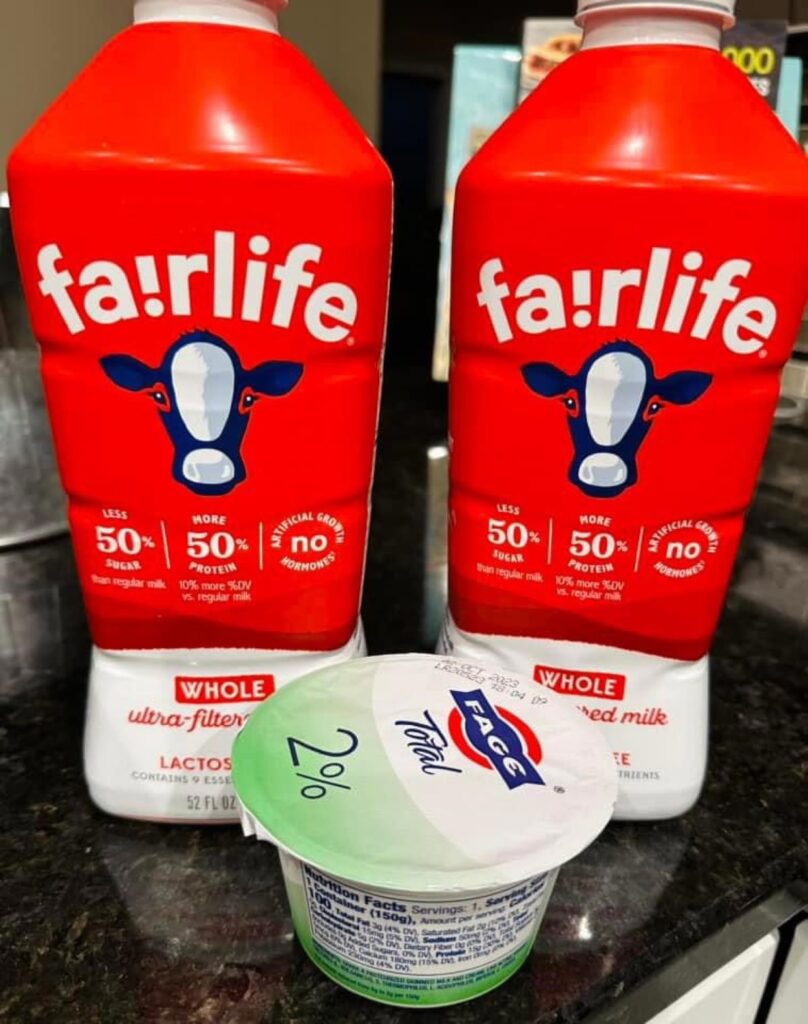
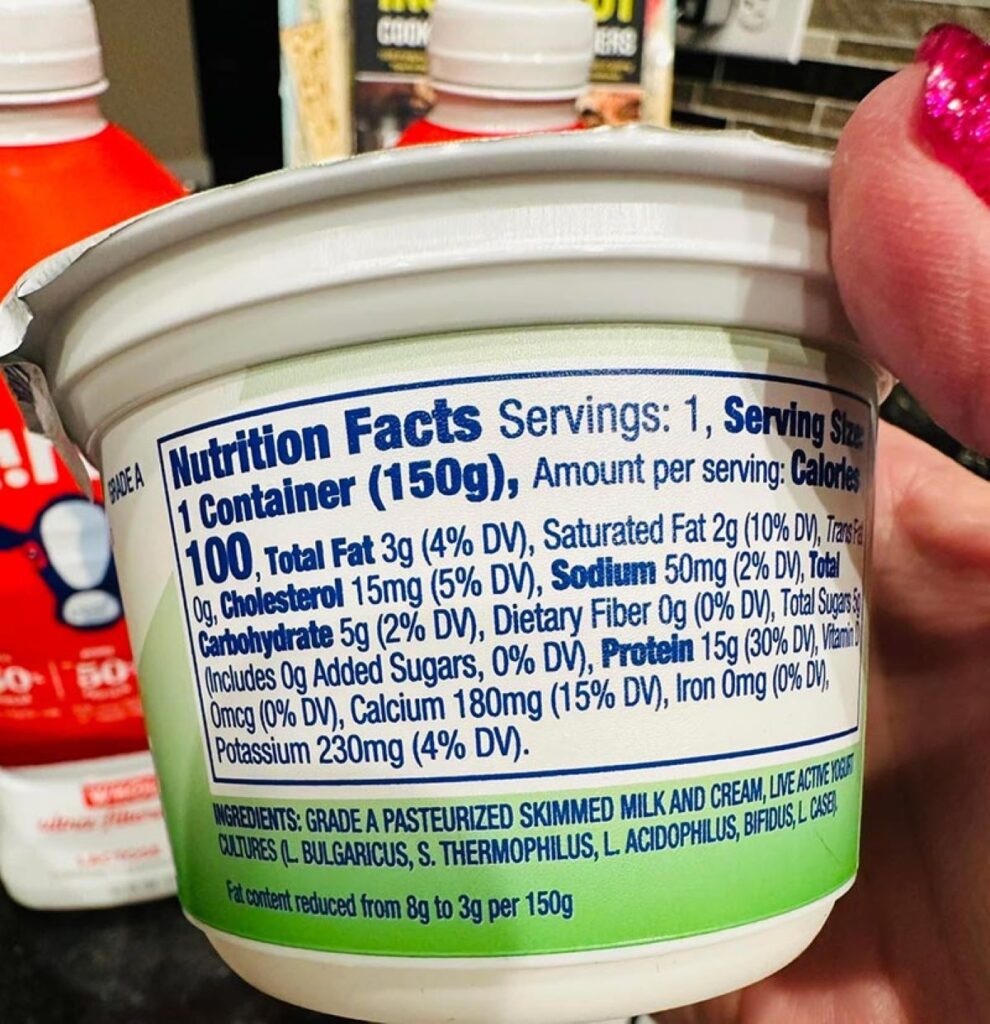
All you need for the starter is one-half cup of plain yogurt. Make sure it contains “live and active cultures.” Chobani and Fage are good choices. In the future, you can save back one-half cup of your Greek yogurt to start a new batch!
Equipment You Will Need To Make Homemade Greek Yogurt
Instant Pot with Yogurt Function
Instant-read thermometer
Whisk
Large colander
Clean kitchen towels, coffee filters, or cheesecloth for straining
Glass or plastic containers for storing yogurt
Get Your Instant Pot Ready
Make sure your Instant Pot is super clean. Since you don’t use pressure cooking when you make yogurt, you can completely remove the sealing ring. This is a good idea because those sealing rings can pick up smells from other food you cook in the Instant Pot, and you do not want to send up with garlic, chili, or onion-flavored yogurt!
Follow These Simple Steps
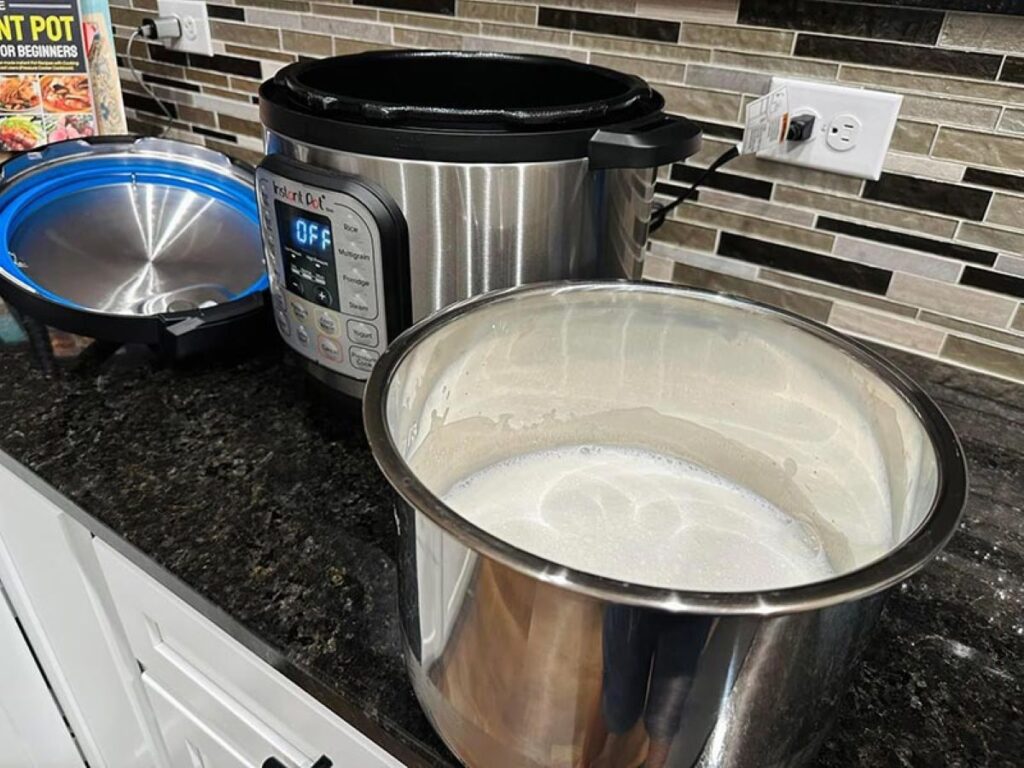
Heat the Milk: Pour the milk into the Instant Pot’s inner pot and close the lid. Turn the knob to “sealing.”
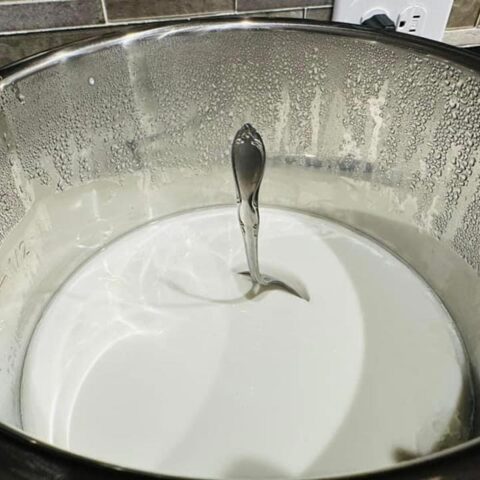
Start the Yogurt Function: Select the “Yogurt” function on the Instant Pot. When you do this, the Instant Pot will heat the milk to a boil, and then it will start to cool down. This could take an hour. You can whisk the milk a few times to help cool it down quicker.
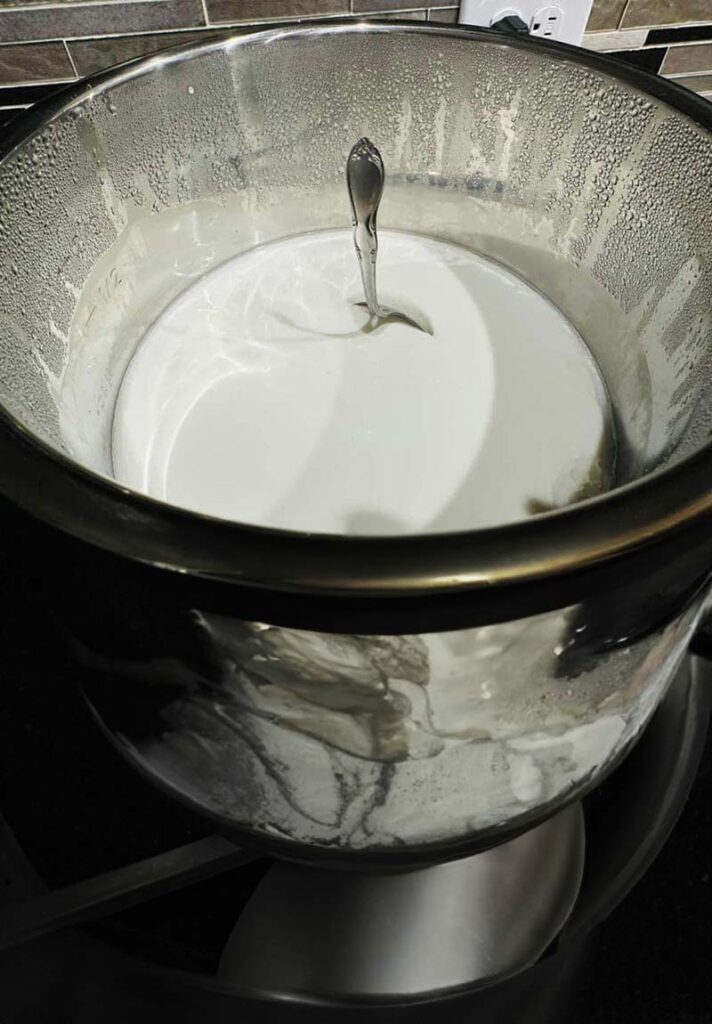
Check the Temperature: After the Instant Pot finishes the heating and cooling cycle, use an instant-read thermometer to check the temperature of the milk. It should be around 110°F to 115°F. If it’s too hot, let it cool down to that temperature.
Add The Starter: Mix the yogurt starter and some warm milk in a small bowl and stir until it’s nice and smooth. Then, pour the mixture back into the Instant Pot with the rest of the warm milk. Whisk together gently to combine.
Begin The Yogurt Process: This is called incubating the yogurt. Close the Instant Pot lid, set the vent to “sealing,” select the yogurt function again, set the incubation time, and use the up arrow to add time.
For standard yogurt, 8 hours is a good starting point. You can go up to 10 hours or more for a thicker, Greek-style yogurt. Leave the Instant Pot undisturbed during this time.
Check the Yogurt: After the incubation period, open the Instant Pot and check the yogurt’s firmness. It should be thick. If it’s not, you can let it incubate longer.
If you like the consistency, remove the inner pot, cover it with plastic film, and put it in the refrigerator for a few hours to cool and set.
To make the yogurt thicker, like Greek yogurt, line a large colander with coffee filters, cheesecloth, a clean dishtowel, or paper towels. Pour all the chilled yogurt into the colander, set it in a pan to collect the whey, and put it in the refrigerator for two or three hours to drain. Getting the yogurt nice and thick will take two to three hours, but you can even leave it overnight in the fridge!
Store the Yogurt: Put the yogurt in glass or plastic containers with lids and store it in the refrigerator. Your homemade yogurt should be good for about 1-2 weeks.
Yay, you! You’ve successfully made yogurt in your Instant Pot. Bake with it, cook with it, and enjoy it plain or with your favorite toppings and mix-ins.
Remember to save a half-cup of your homemade yogurt as a starter culture in your next batch!
If you’re still unsure about making your own yogurt, here are more things that might inspire you to try it! Making yogurt at home in your Instant Pot offers several advantages and benefits that may encourage you to give it a go.
Cost Savings: You can make a large batch at a fraction of the cost of buying individual containers. (Not to mention far fewer wasteful containers to throw away!)
Control over Ingredients: When you make yogurt at home, you know exactly what’s in it! Choose the type of milk you want to use!
Quality and Freshness: Homemade yogurt is often fresher and better quality than store-bought yogurt. You can be sure there are no additives or preservatives.
Probiotics and Live Cultures: Homemade yogurt usually contains more live probiotic cultures that can benefit gut health.
A Great Alternative Source Of Protein: Greek yogurt is considered a superfood in part because it provides more protein than regular yogurt. A six-ounce serving of Greek yogurt has as much protein as three ounces of lean meat!
If that’s not enough, it’s creative, fun, educational, and a great family activity! Not sure what you’ll do with all that Greek yogurt? Click on the link to read a fascinating post from Whole Foods.
We love using Greek yogurt in baking. Here are some recipes to get you started: Chocolate Chip Banana Bread, Rhubarb Muffins With Streusel Top, and Rustic Rhubarb Bread. If you type “Greek yogurt” in the search bar, you’ll see more recipes for using Greek yogurt instead of sour cream or buttermilk! Happy baking!!
Printable recipe:
Homemade Greek Yogurt
Easy homemade yogurt you can make in an Instant Pot with a yogurt function. Great for eating, great for baking.
Ingredients
- One gallon of whole milk or goat's miik. Regular or lactose-fee.
- 1/2 cup plan yogurt with live cultures
Instructions
- Make sure the Instant Pot is very clean. Remove the sealing ring; no pressure cooking is involved in making yogurt.
- Heat the Milk: Pour the milk into the Instant Pot’s inner pot and close the lid. Turn the knob to “sealing.”
- Start the Yogurt Function: Select the “Yogurt” function on the Instant Pot. When you do this, the Instant Pot will heat the milk to a boil and cool down. This could take an hour. You can whisk the milk a few times to help cool it down quicker.
- Check the Temperature: After the Instant Pot finishes the heating and cooling cycle, use an instant-read thermometer to check the temperature of the milk. It should be around 110°F to 115°F. If it’s too hot, let it cool down to that temperature.
- Add The Starter: Mix the yogurt starter and some warm milk in a small bowl and stir until it’s nice and smooth. Then, pour the mixture back into the Instant Pot with the rest of the warm milk. Whisk together gently to combine.
- Begin The Yogurt Process: This is called incubating the yogurt. Close the Instant Pot lid, set the vent to “sealing,” select the yogurt function again, set the incubation time, and use the up arrow to add time.
- For standard yogurt, 8 hours is a good starting point. You can go up to 10 hours or more for a thicker, Greek-style yogurt. Leave the Instant Pot undisturbed during this time.
- Check the Yogurt: After incubating, open the Instant Pot and check the yogurt’s firmness. It should be thick. If it’s not, you can let it incubate longer.
- If you like the consistency, remove the inner pot, cover it with plastic film, and put it in the refrigerator for a few hours to cool and set.
- To make the yogurt thicker, like Greek yogurt, line a large colander with coffee filters, cheesecloth, a clean dishtowel, or paper towels. Pour all the chilled yogurt into the colander, set it in a pan to collect the whey, and put it in the refrigerator for two or three hours to drain. Getting the yogurt nice and thick will take two to three hours, but you can even leave it overnight in the fridge!
- Store yogurt in plastic or glass containers in the refrigerator for up to two weeks
Notes
You can easily cut the ingredients in half, but the times will be the same.
Nutrition Information:
Yield: 15 Serving Size: 1Amount Per Serving: Calories: 195Total Fat: 9gSaturated Fat: 5gTrans Fat: 0gUnsaturated Fat: 3gCholesterol: 43mgSodium: 136mgCarbohydrates: 13gFiber: 0gSugar: 14gProtein: 15g
If you enjoyed this recipe, please share it on your social media! I would love for more people to try this delicious and easy-to-make recipe. If you have any questions or feedback, please feel free to leave a comment below. I would love to hear from you! Shhh… Join our secret foodie group on Facebook
MORE OF OUR QUICK AND EASY FAMILY-STYLE RECIPES:

The Ultimate Bread and Butter Pickle Recipe
Danish Style Cucumber Salad
Sweet Potato Pie
The Number 1 Practically Perfect Poppy Seed Bread
Classic Irish Colcannon
If you like these recipes, you are our people! You can check some related articles below or search via categories on the right. But be warned; you will be on here for hours. Enjoy!


I found a way to eliminate one step. Before heating the milk, add an equivalent amount of powdered milk and stir well. Then proceed with the process. No need to strain off the whey after incubation.
Great idea!